

Use Octop on Tencent Cloud
The official buy links below already pre-select the Octop image. Open one, sign in to Tencent Cloud, review the spec, and place the order.
After the instance is ready, follow the steps below for the URL and initial password.
Sign in to Tencent Cloud
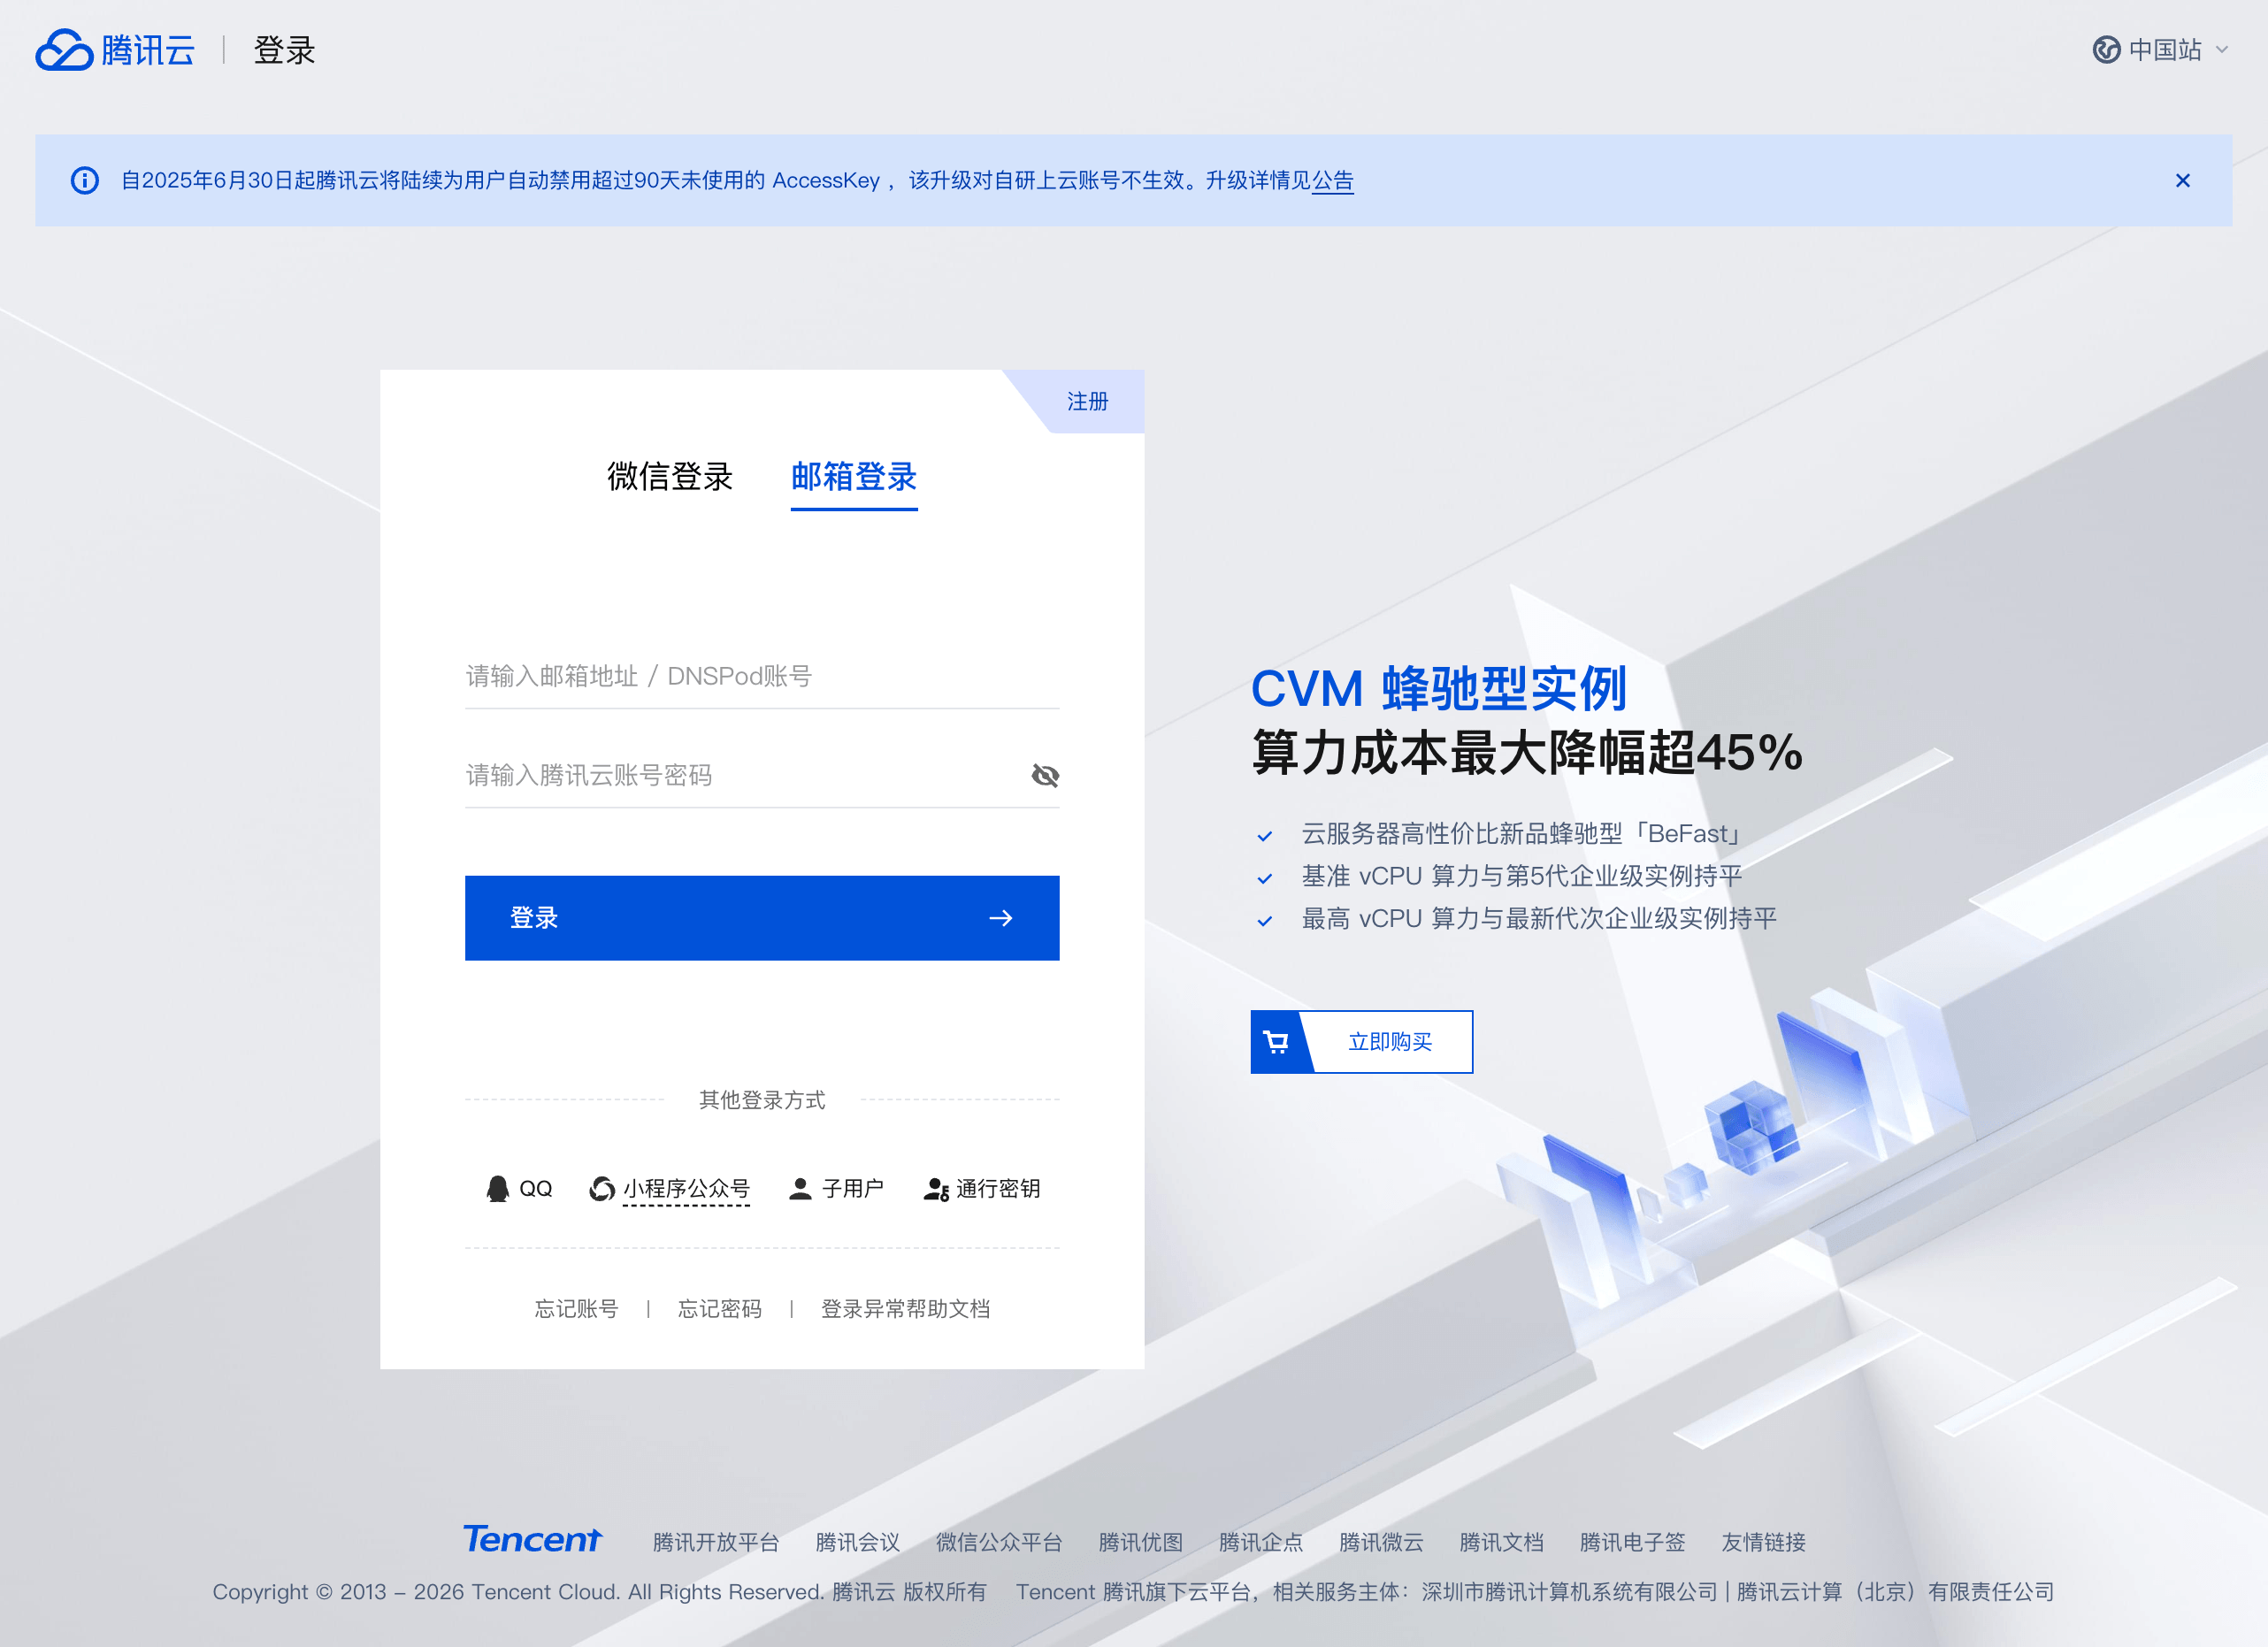
If you are not signed in, the buy page redirects to the Tencent Cloud login page. Sign in with WeChat or email; you then return to the buy page. If you do not have an account yet, click Sign up in the top-right corner.
Lighthouse
Open the Lighthouse buy link. Creation mode stays on Use an application image, with Octop (Tencent Cloud AI assistant) already selected.
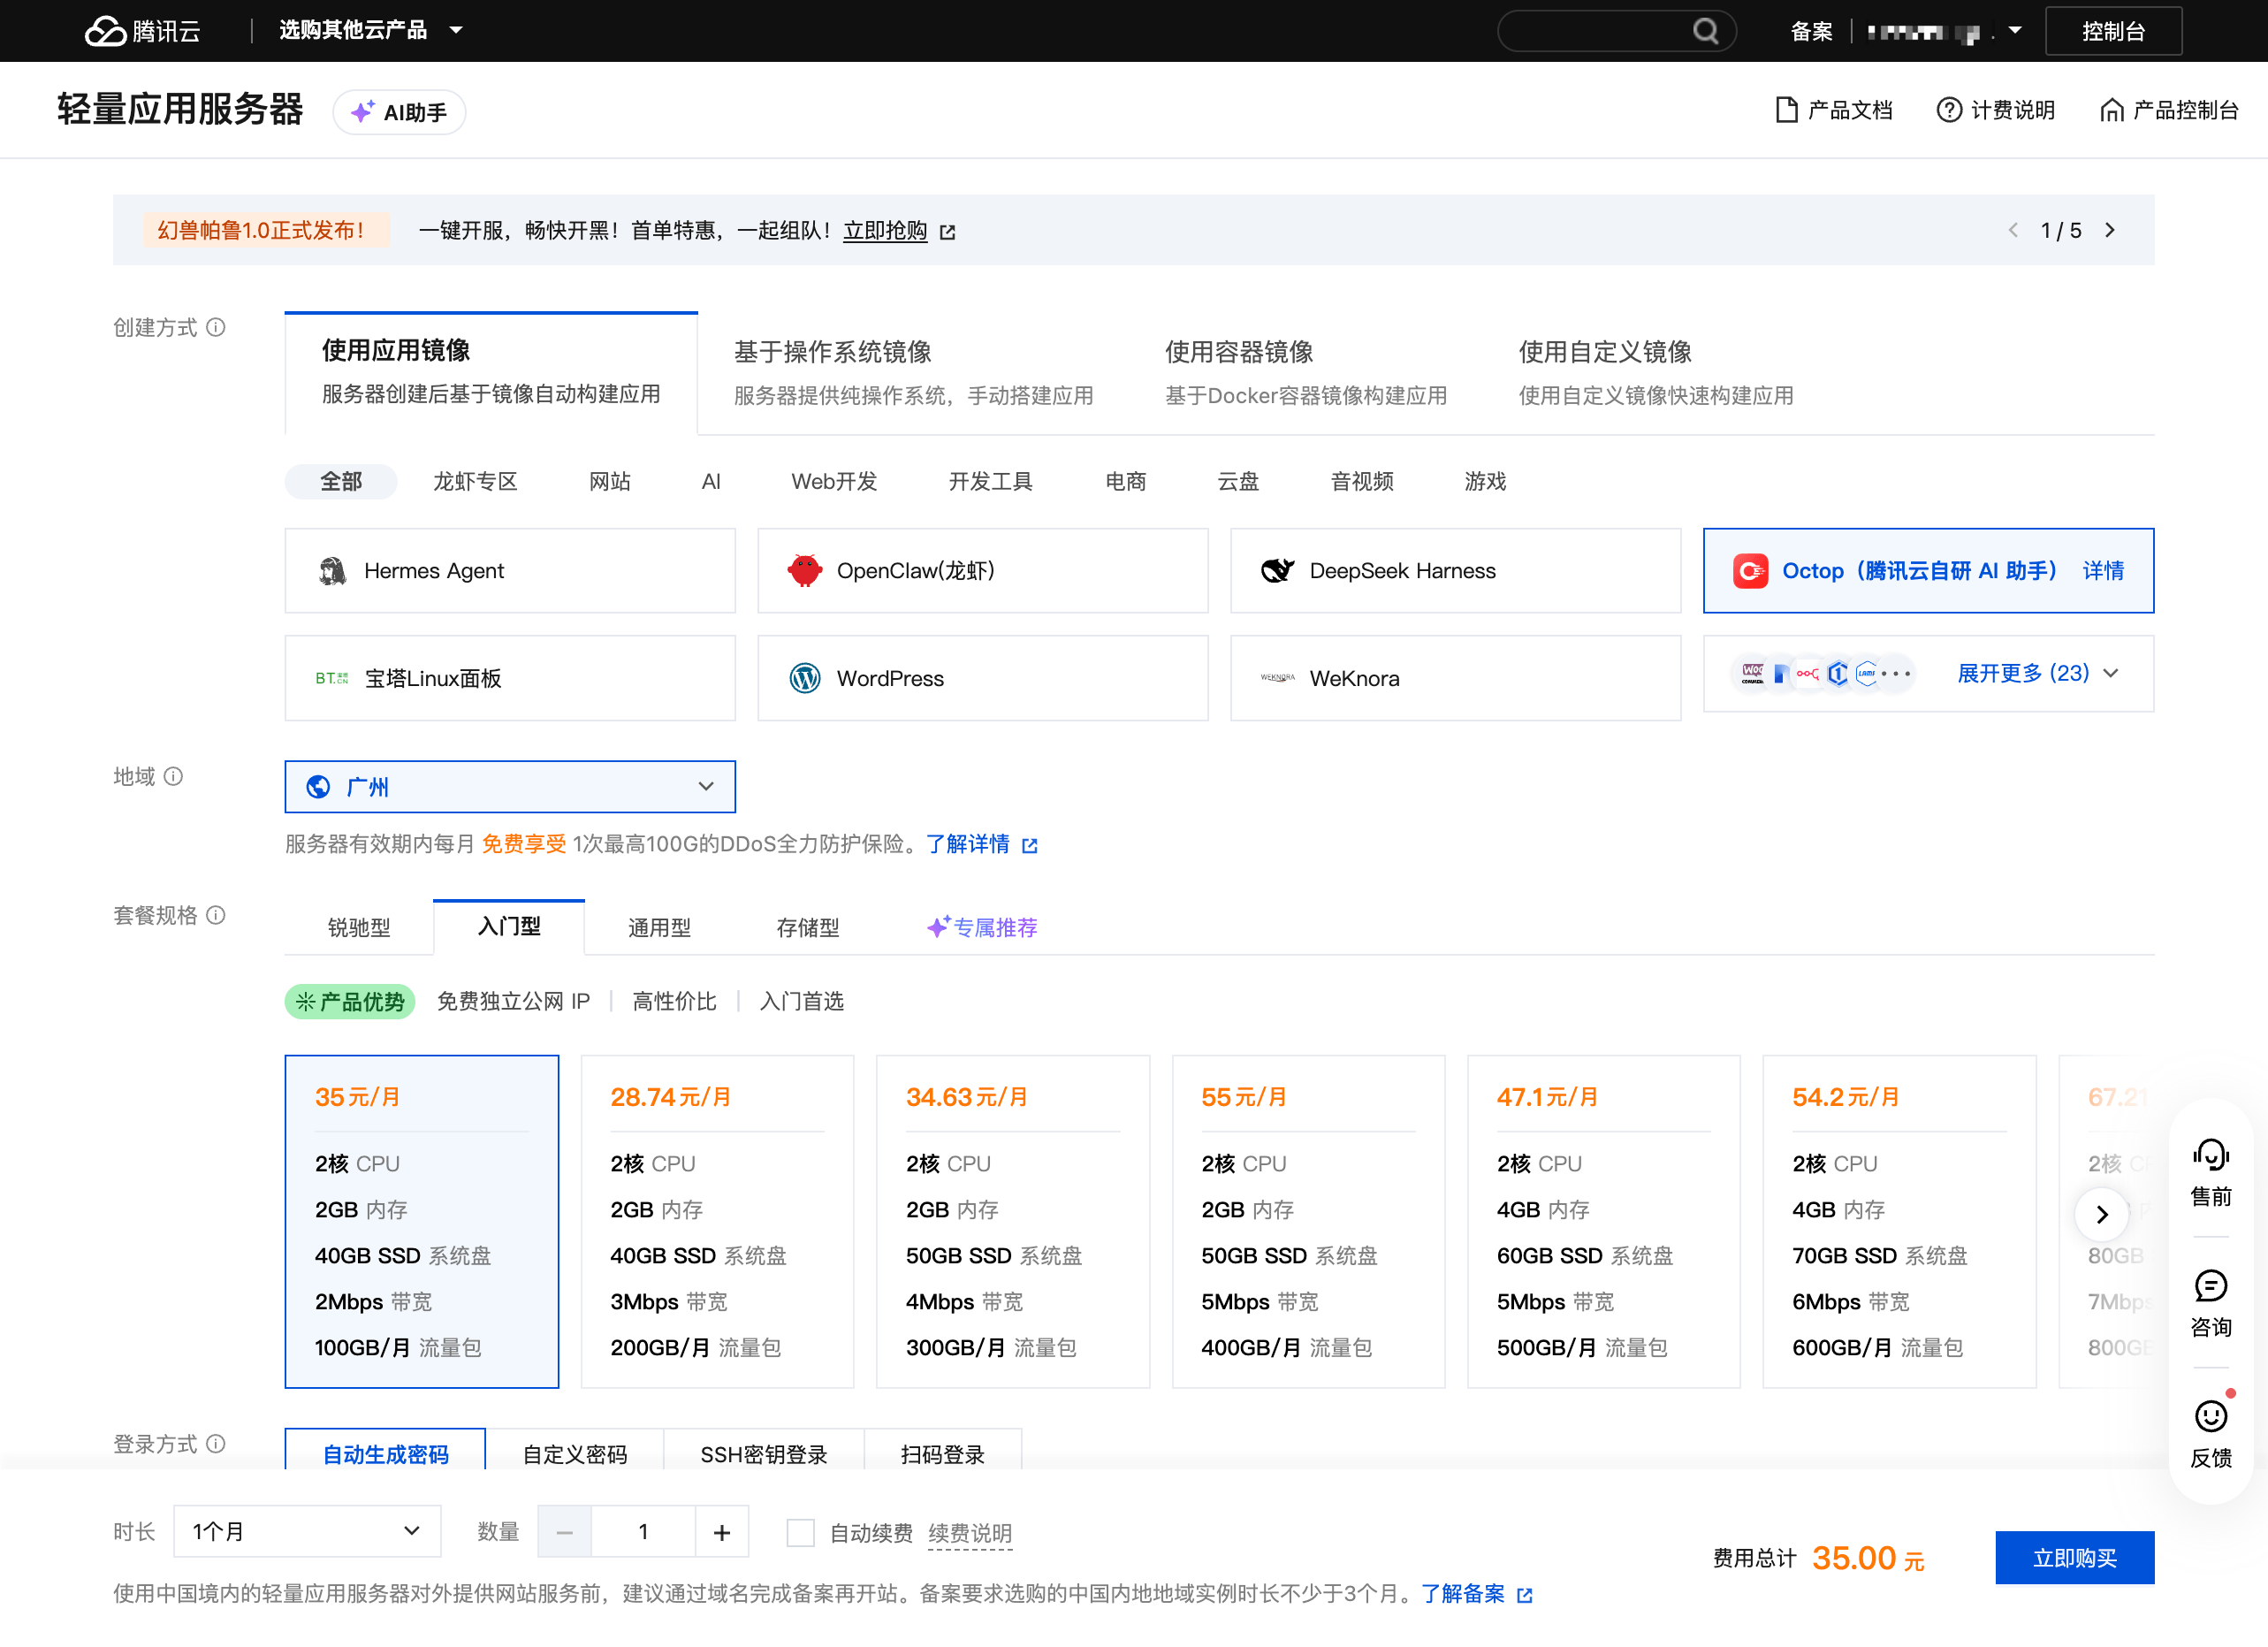
Then confirm:
Region
Guangzhou by default; pick the closest region if you prefer.
Bundle
Choose a plan based on your needs and current availability, such as the entry-level 2 vCPU / 2 GB plan; upgrade if the load requires it.
Login
Auto-generated password by default; you can switch to a custom password or SSH key.
Duration and quantity
Keep quantity at 1.
Place the order
Accept the agreement and click Buy now.
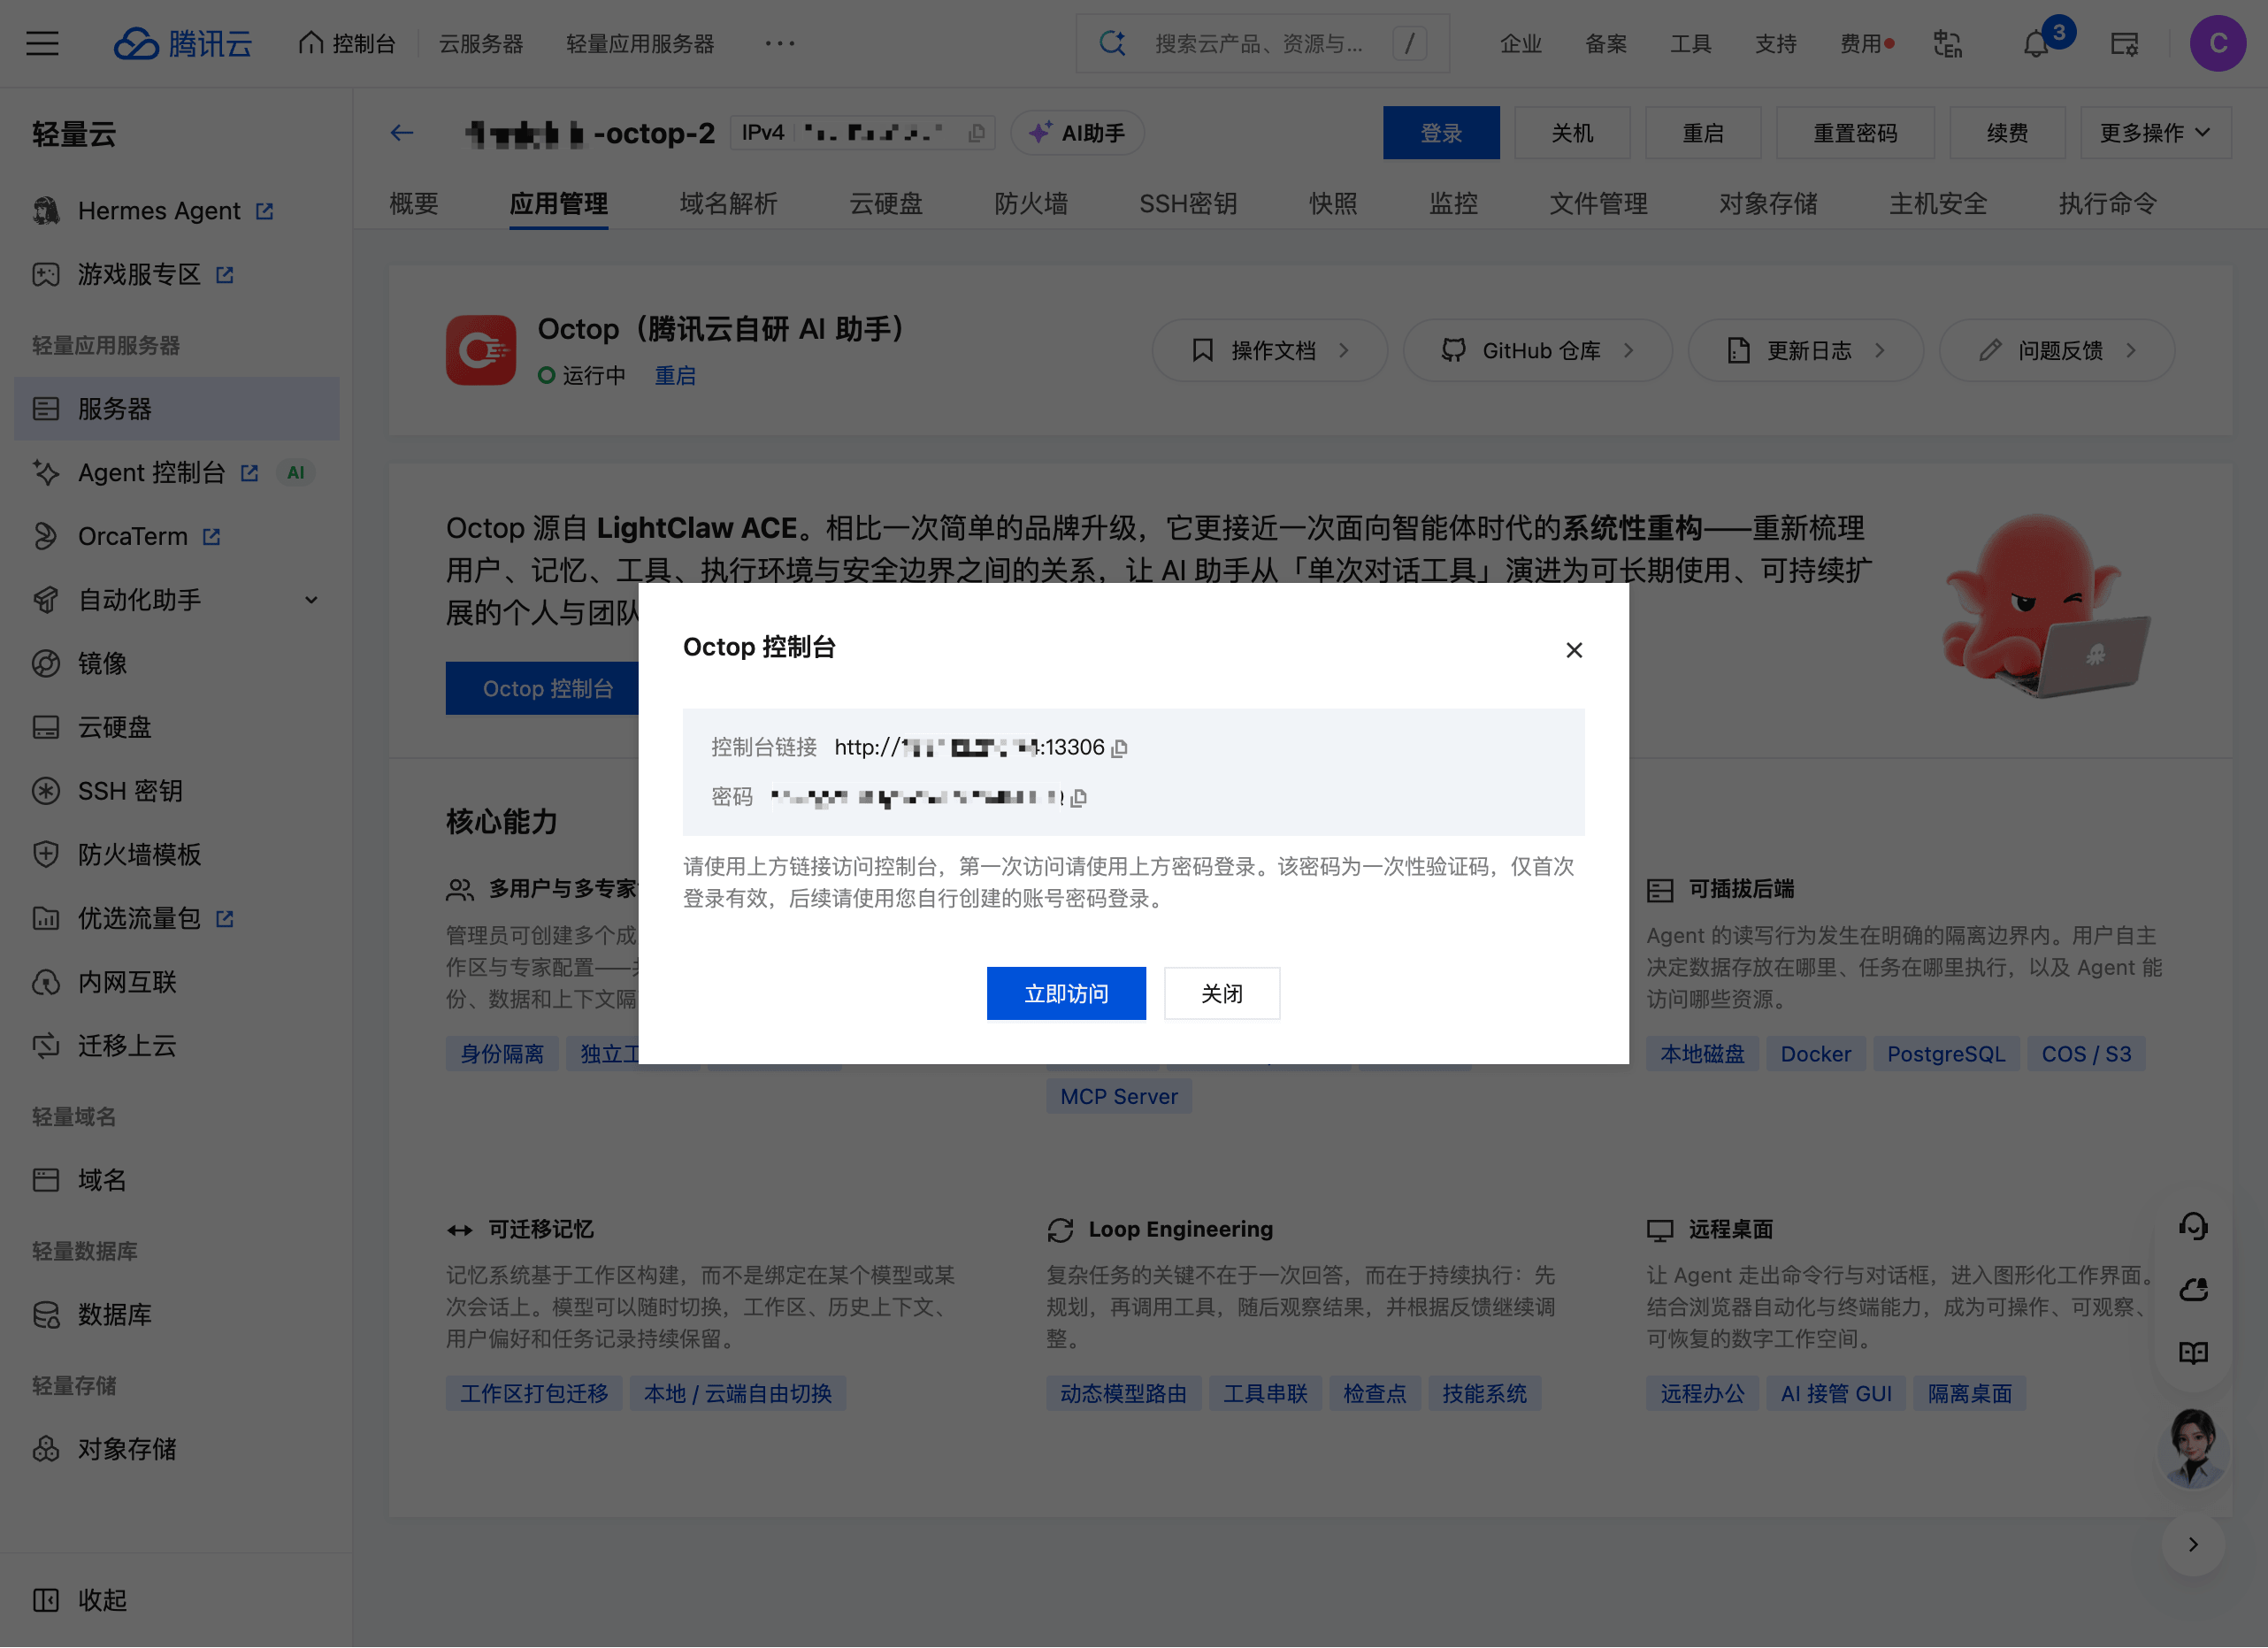
When the instance is ready, open it and go to Application management. Copy the URL (including the port) from the Octop console and open it in a browser.
CVM
Open the CVM buy link. It lands on Custom configuration with the Octop image already attached (Octop on TencentOS Server 4, image ID img-n3gxkolf).
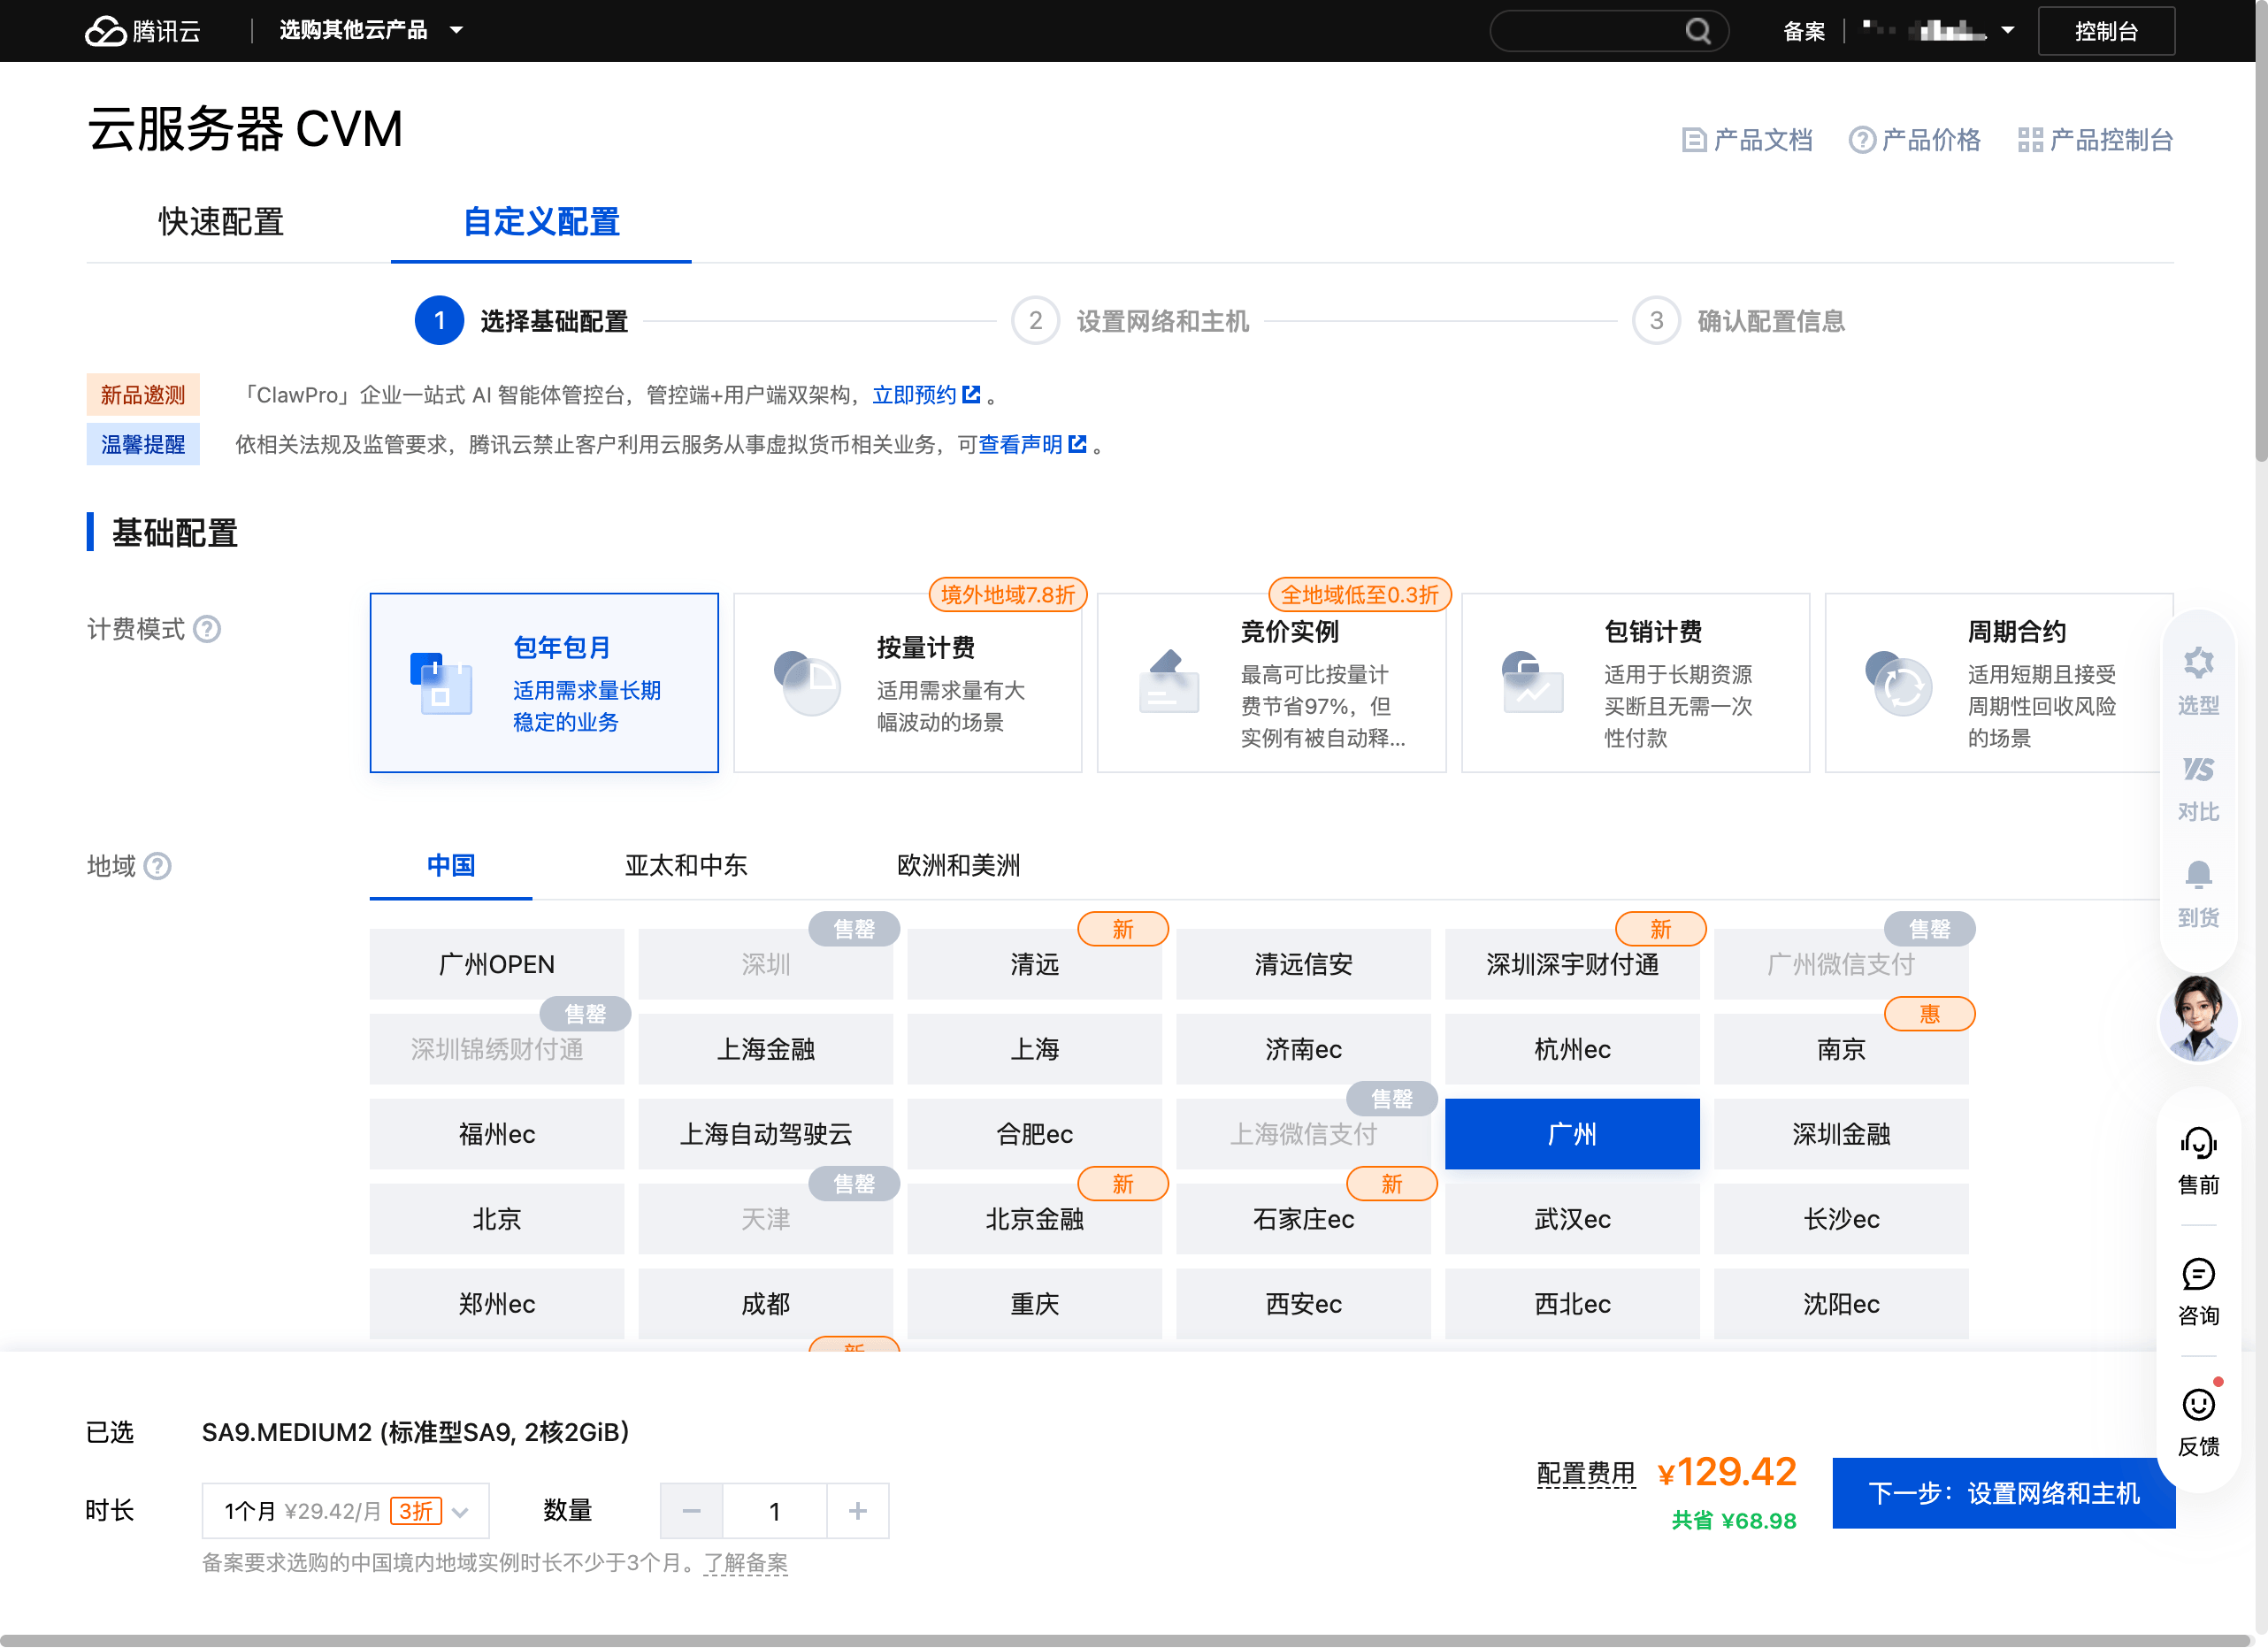
CVM only shows the image dropdown after you pick an in-stock instance type. The very large SKU in the URL may be sold out — switch to something available, such as 2 vCPU / 8 GB. Until then the page says “No images available, select an instance type first”.
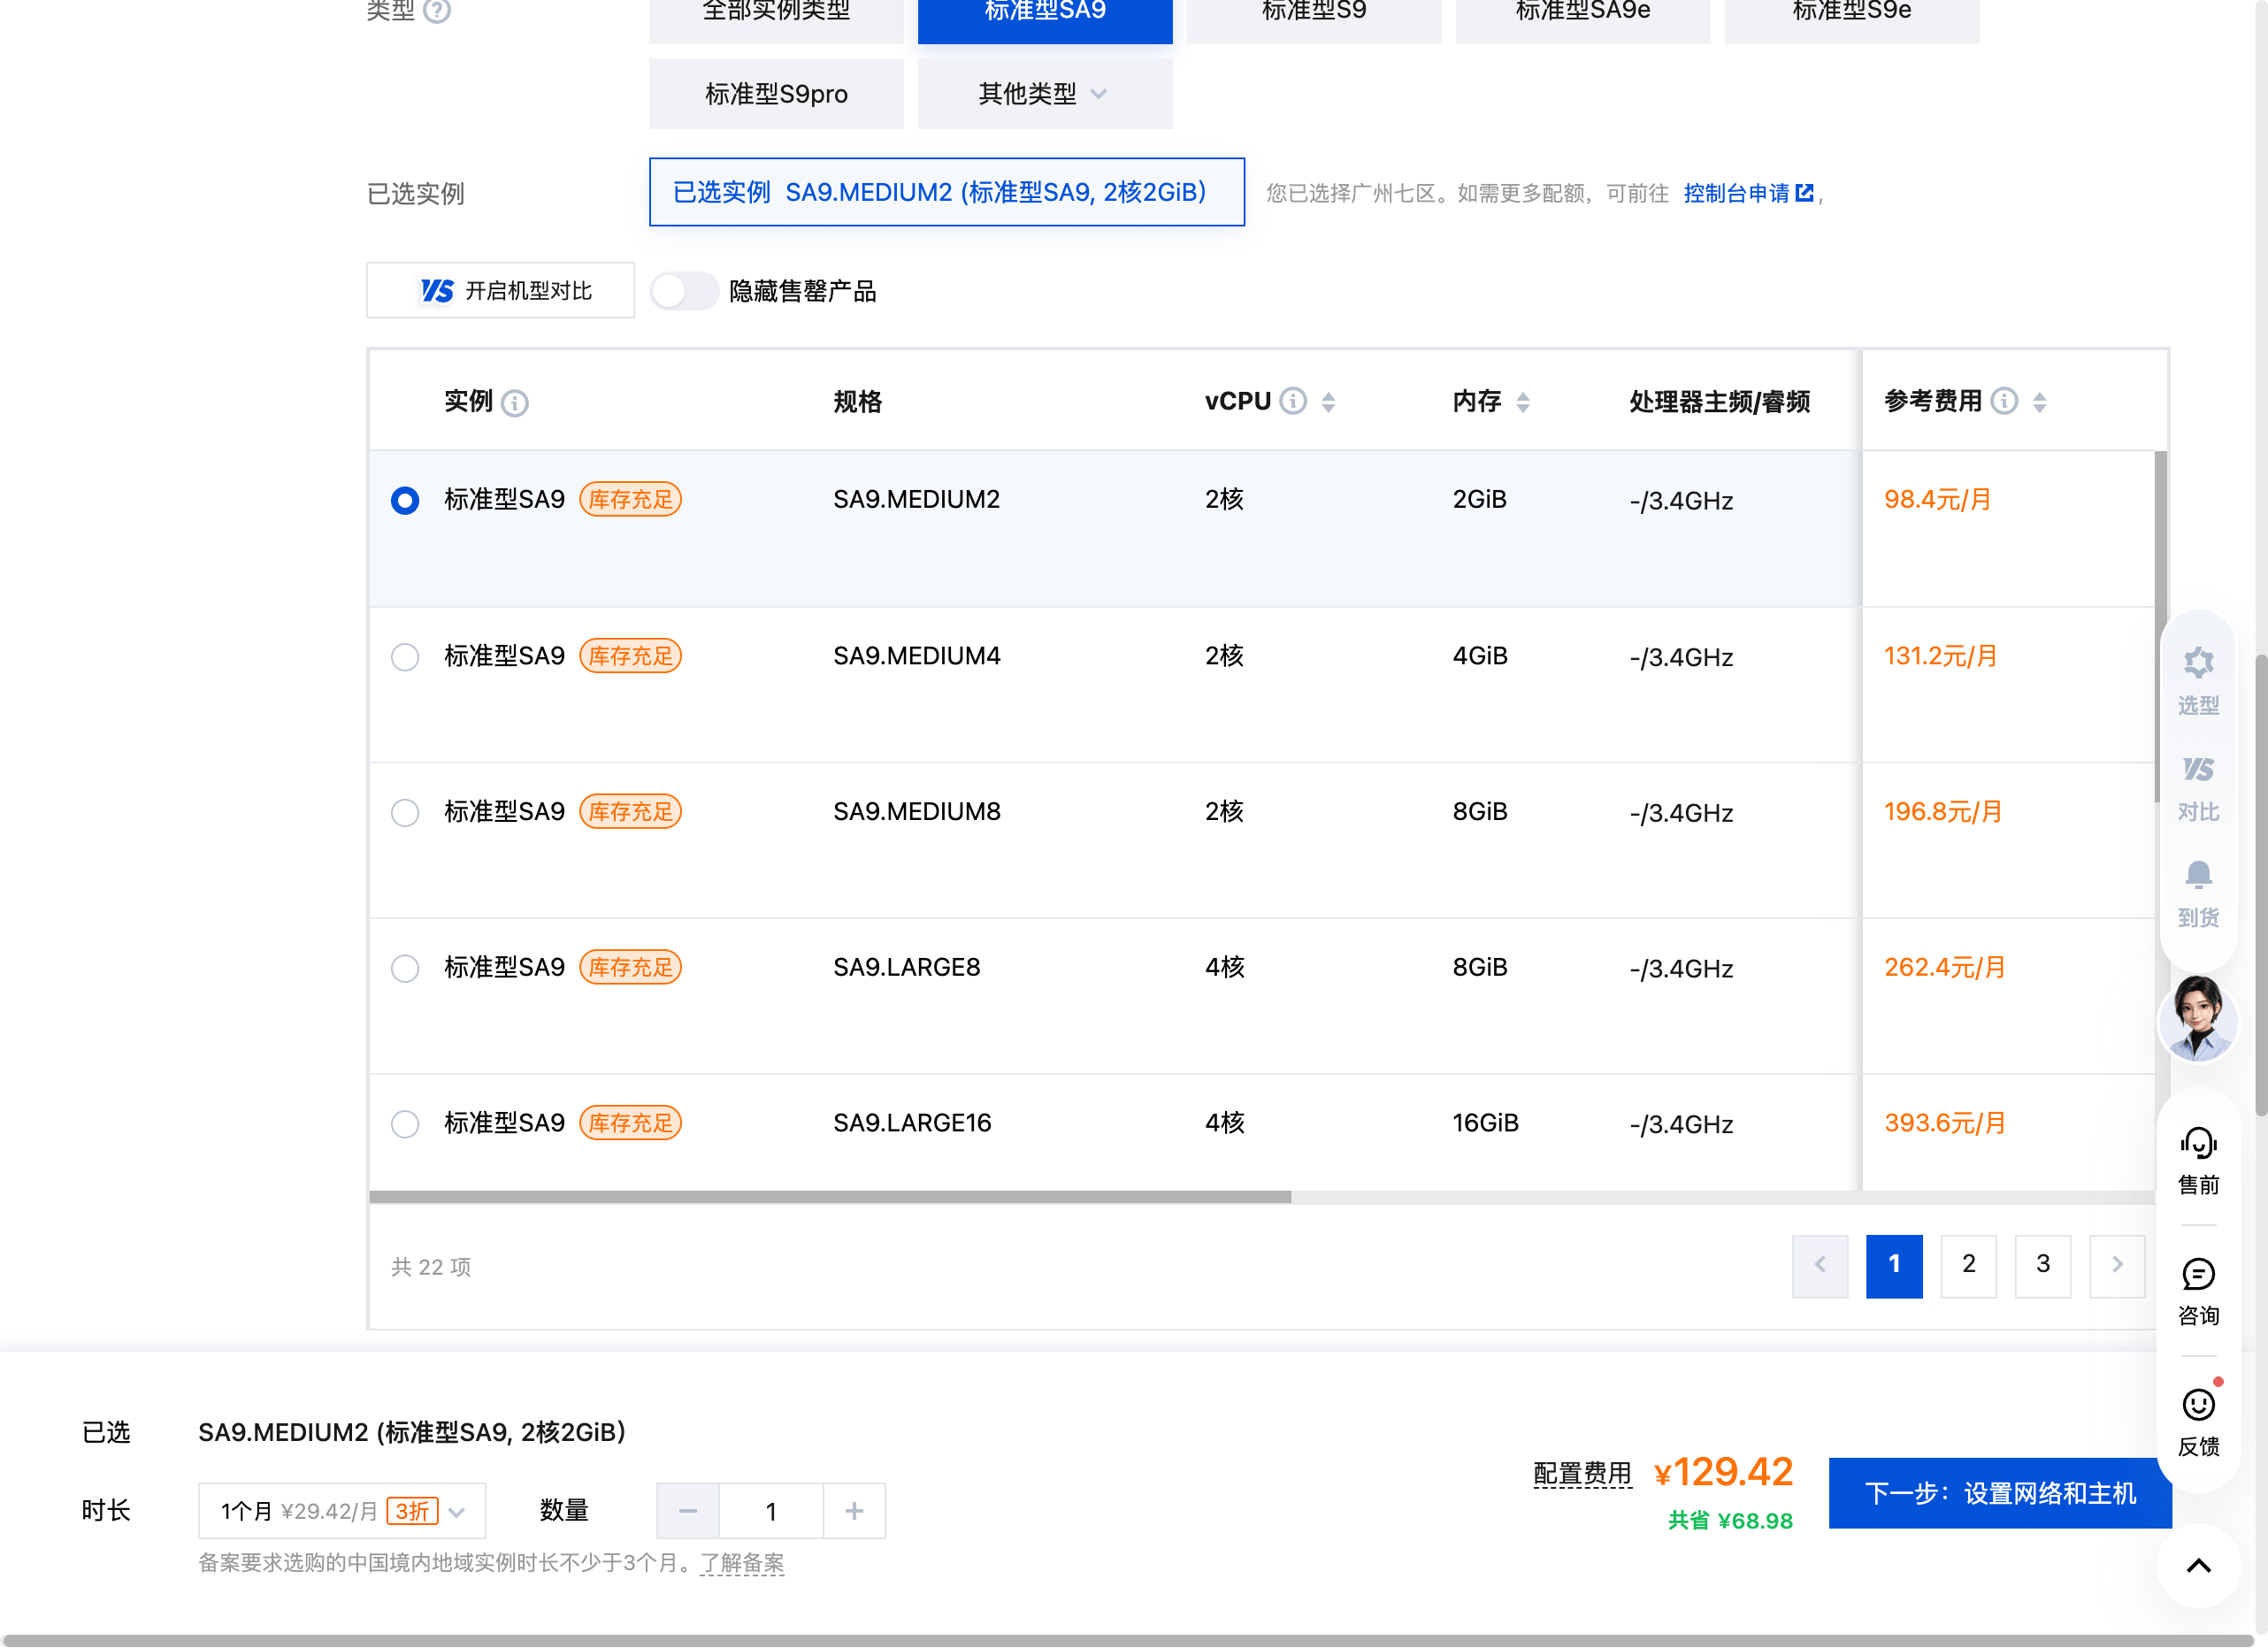
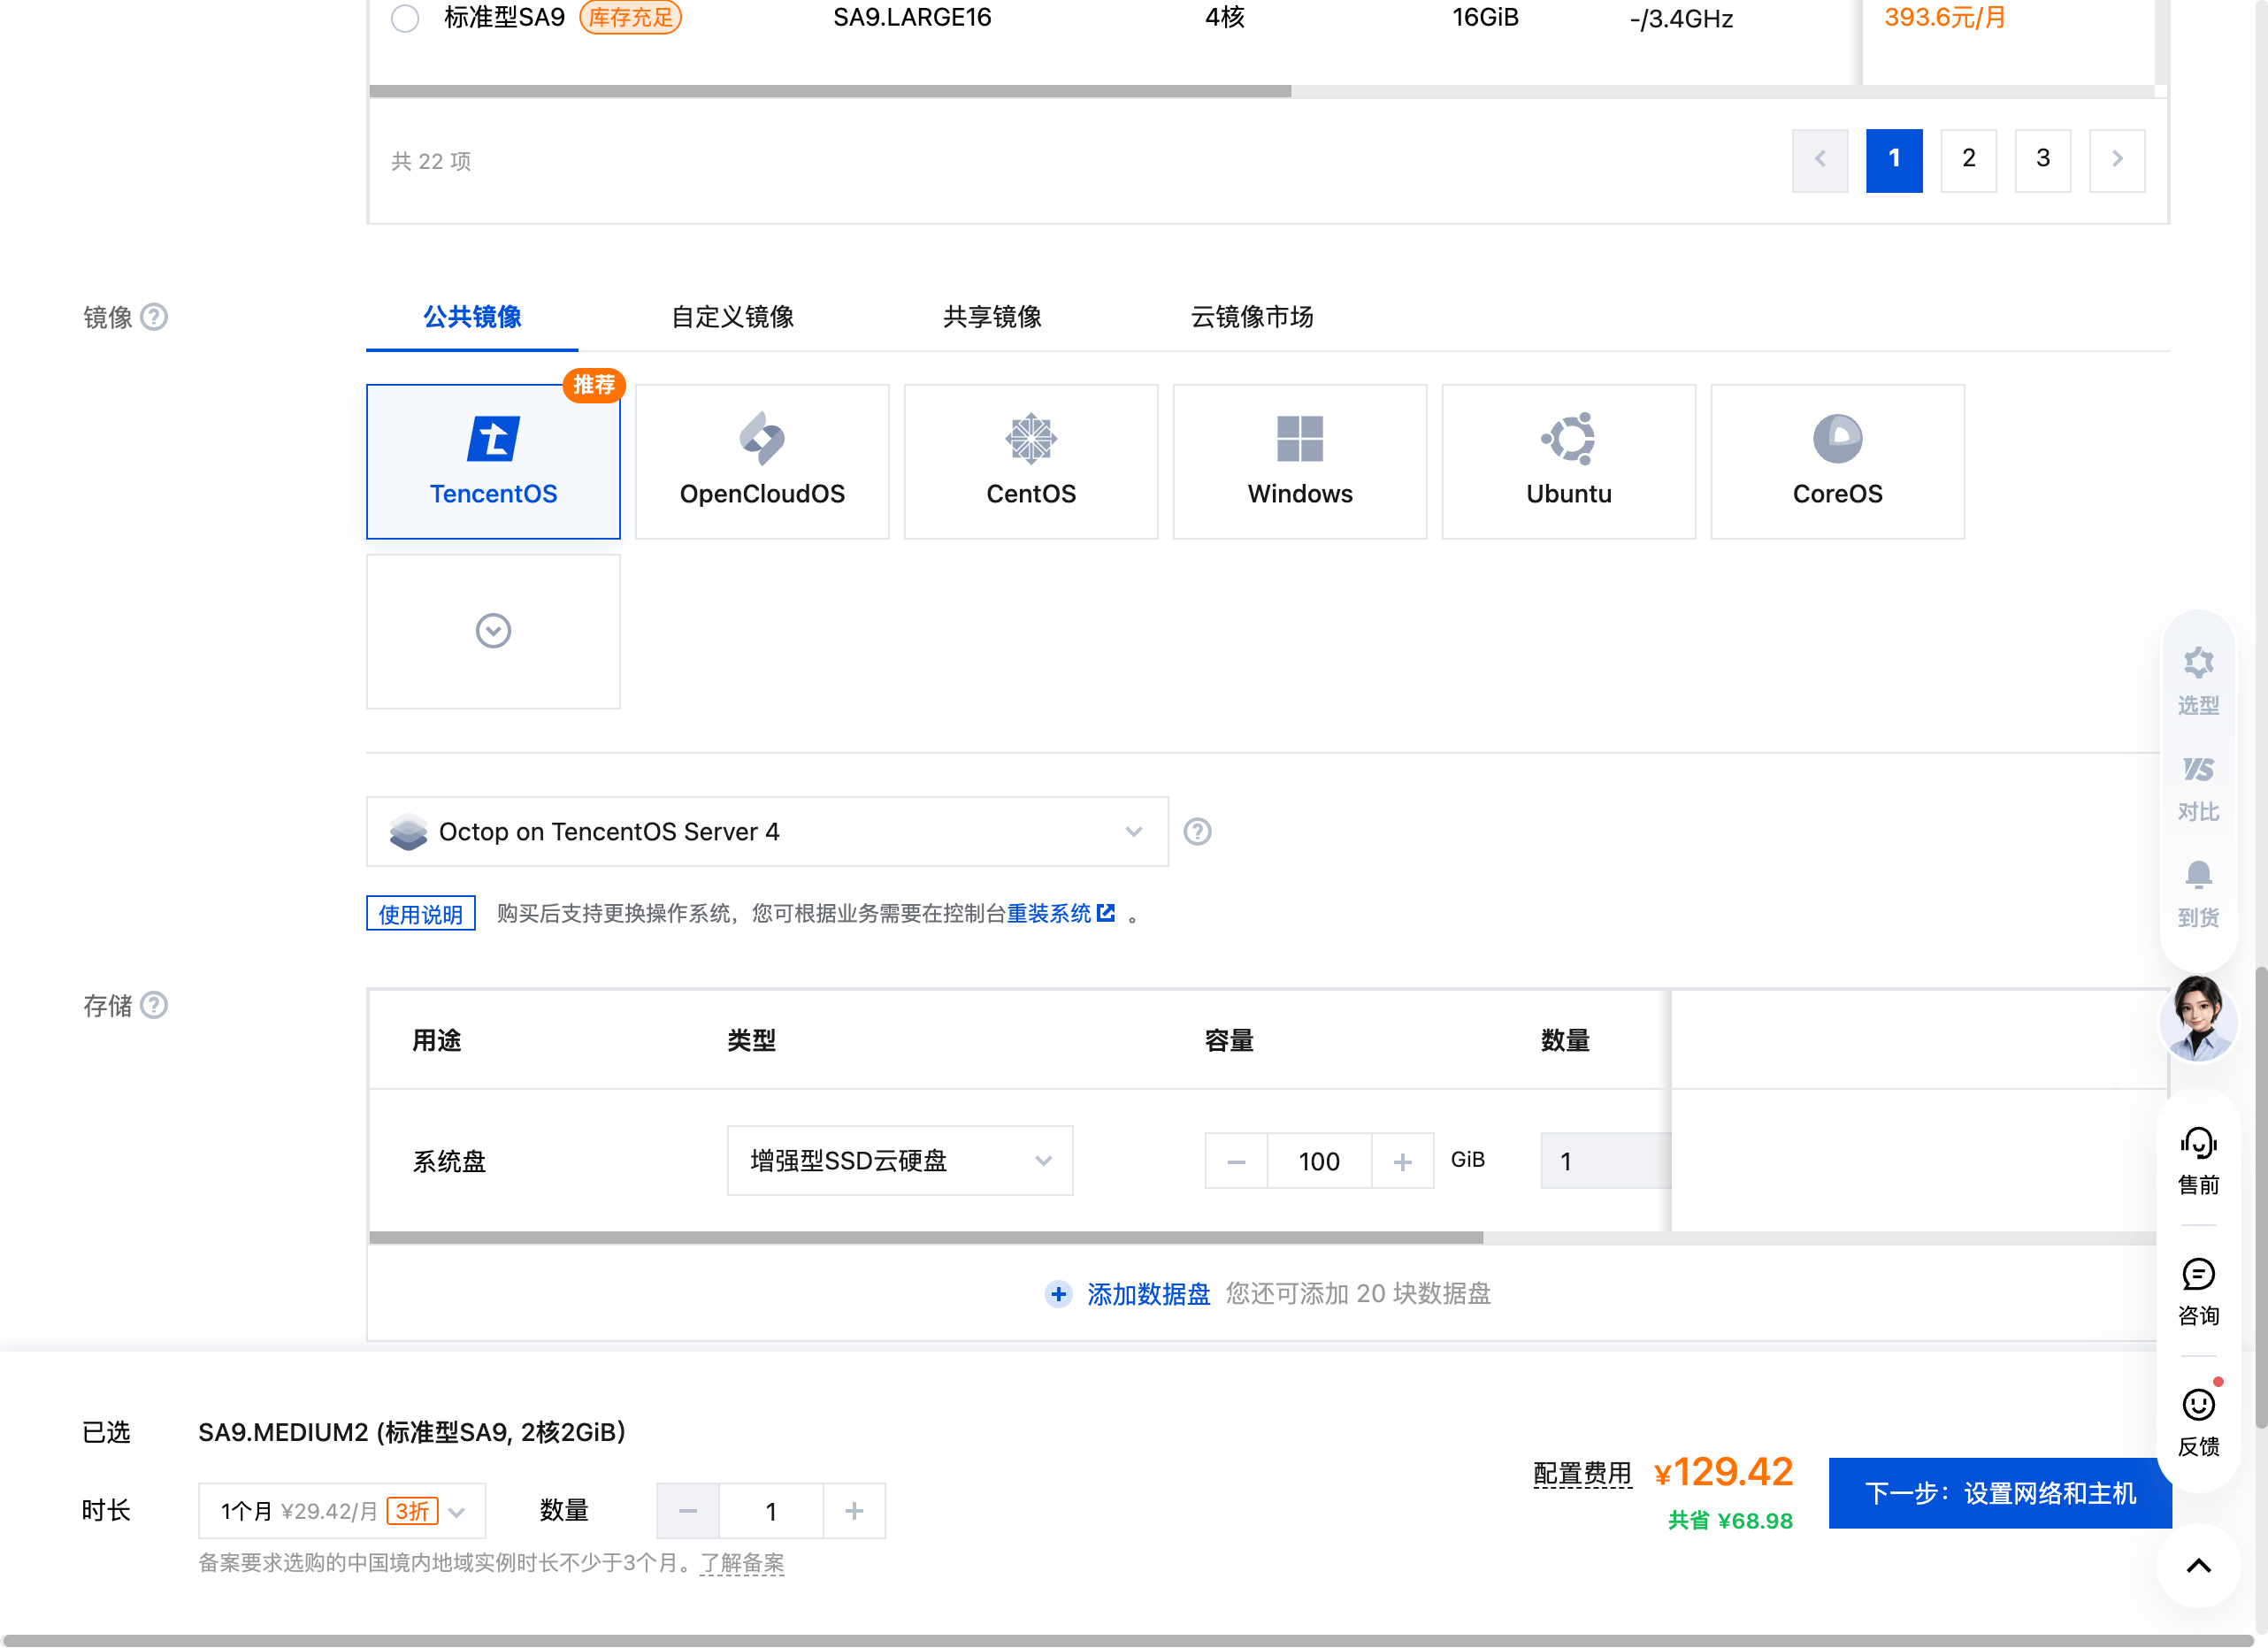
After you pick an instance type, the page shows the pre-selected Octop image. Keep it as:
- Tab: Public images
- OS: TencentOS
- Version: Octop on TencentOS Server 4
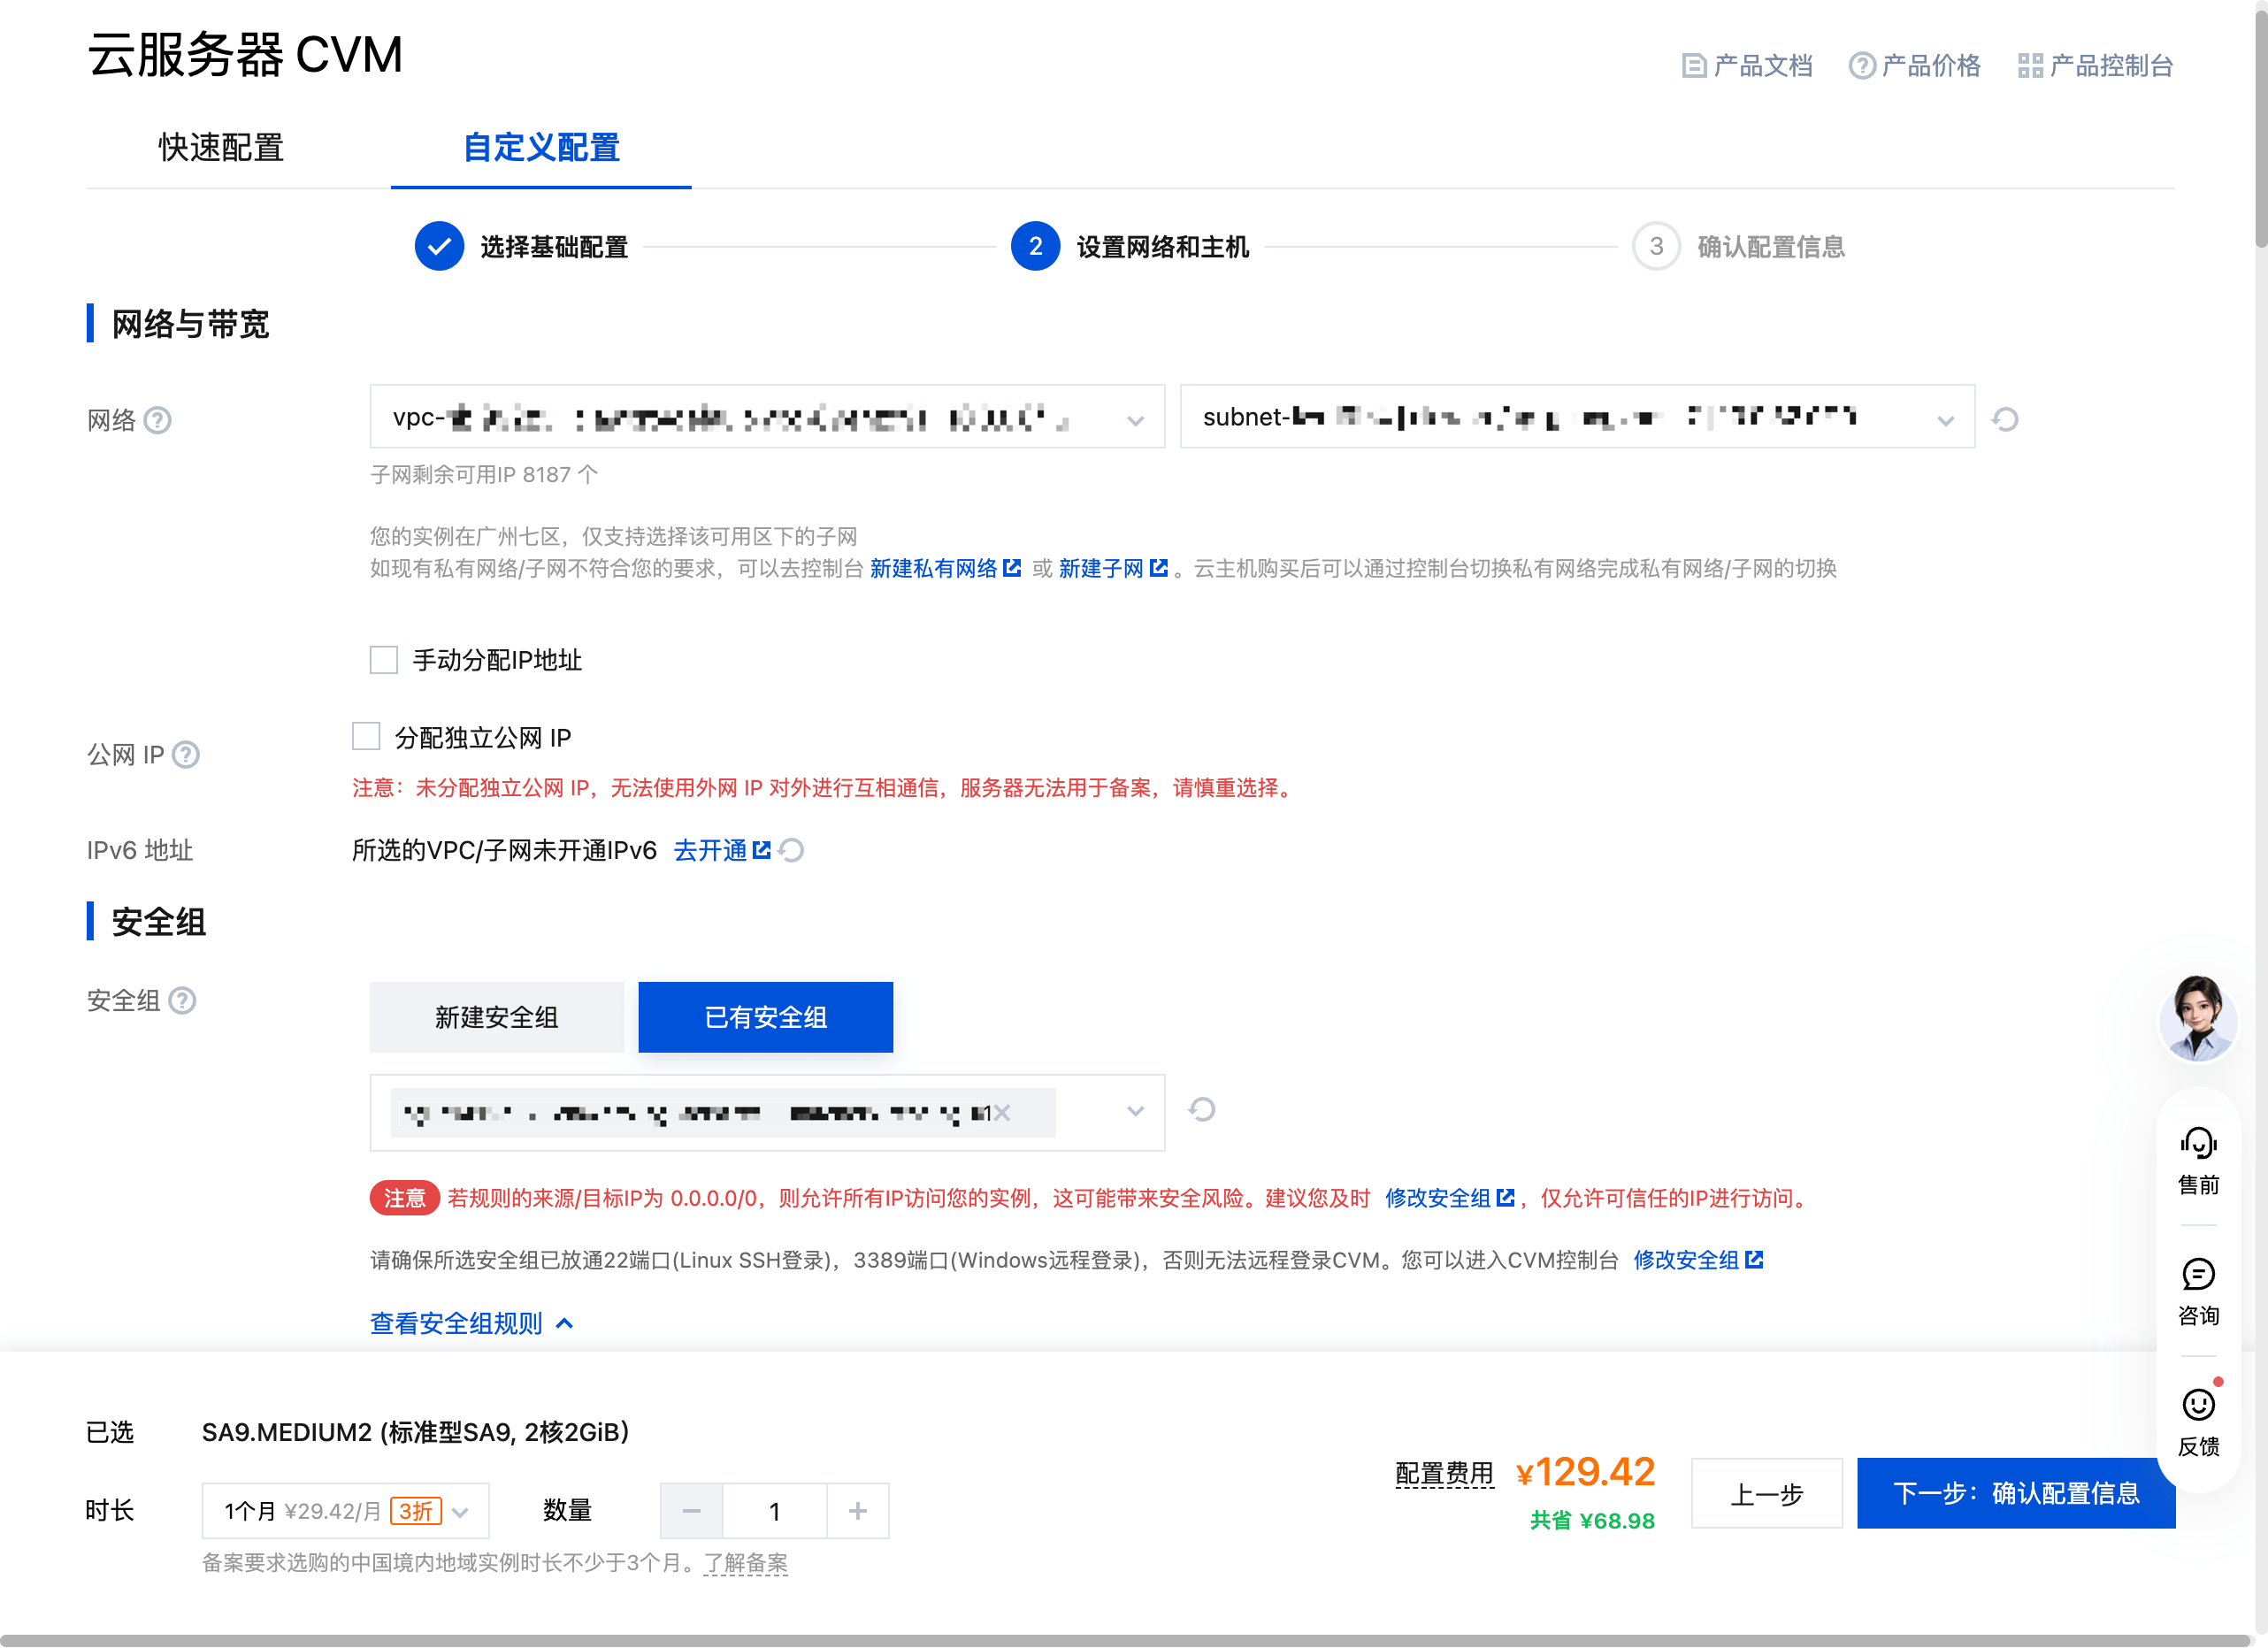
Click Next: Configure network and host. Assign a public IP, set VPC, a security group, and a login key, then submit the order. Allow SSH in the security group first.
Octop does not use a fixed web port. The instance writes the port to ~/octop-login.txt after it starts.
When the instance is ready:
Sign in to the instance
SSH into the CVM.
Switch to agentuser
Run su - agentuser.
Read the login file
Open ~/octop-login.txt. It contains the URL and initial password, for example:
Use the port in that file (29648 is only an example).
Add a security group inbound rule
Add an inbound TCP rule for the port in that URL. Without this rule you can still SSH in, but the browser cannot open the page from the public internet.
Open the page
After the rule takes effect, open the URL in a browser.
Finish the setup wizard
The page starts the setup wizard. Paste the initial password from the file, then set your own admin username and password.