
Connect two Octop instances with cloud collaboration
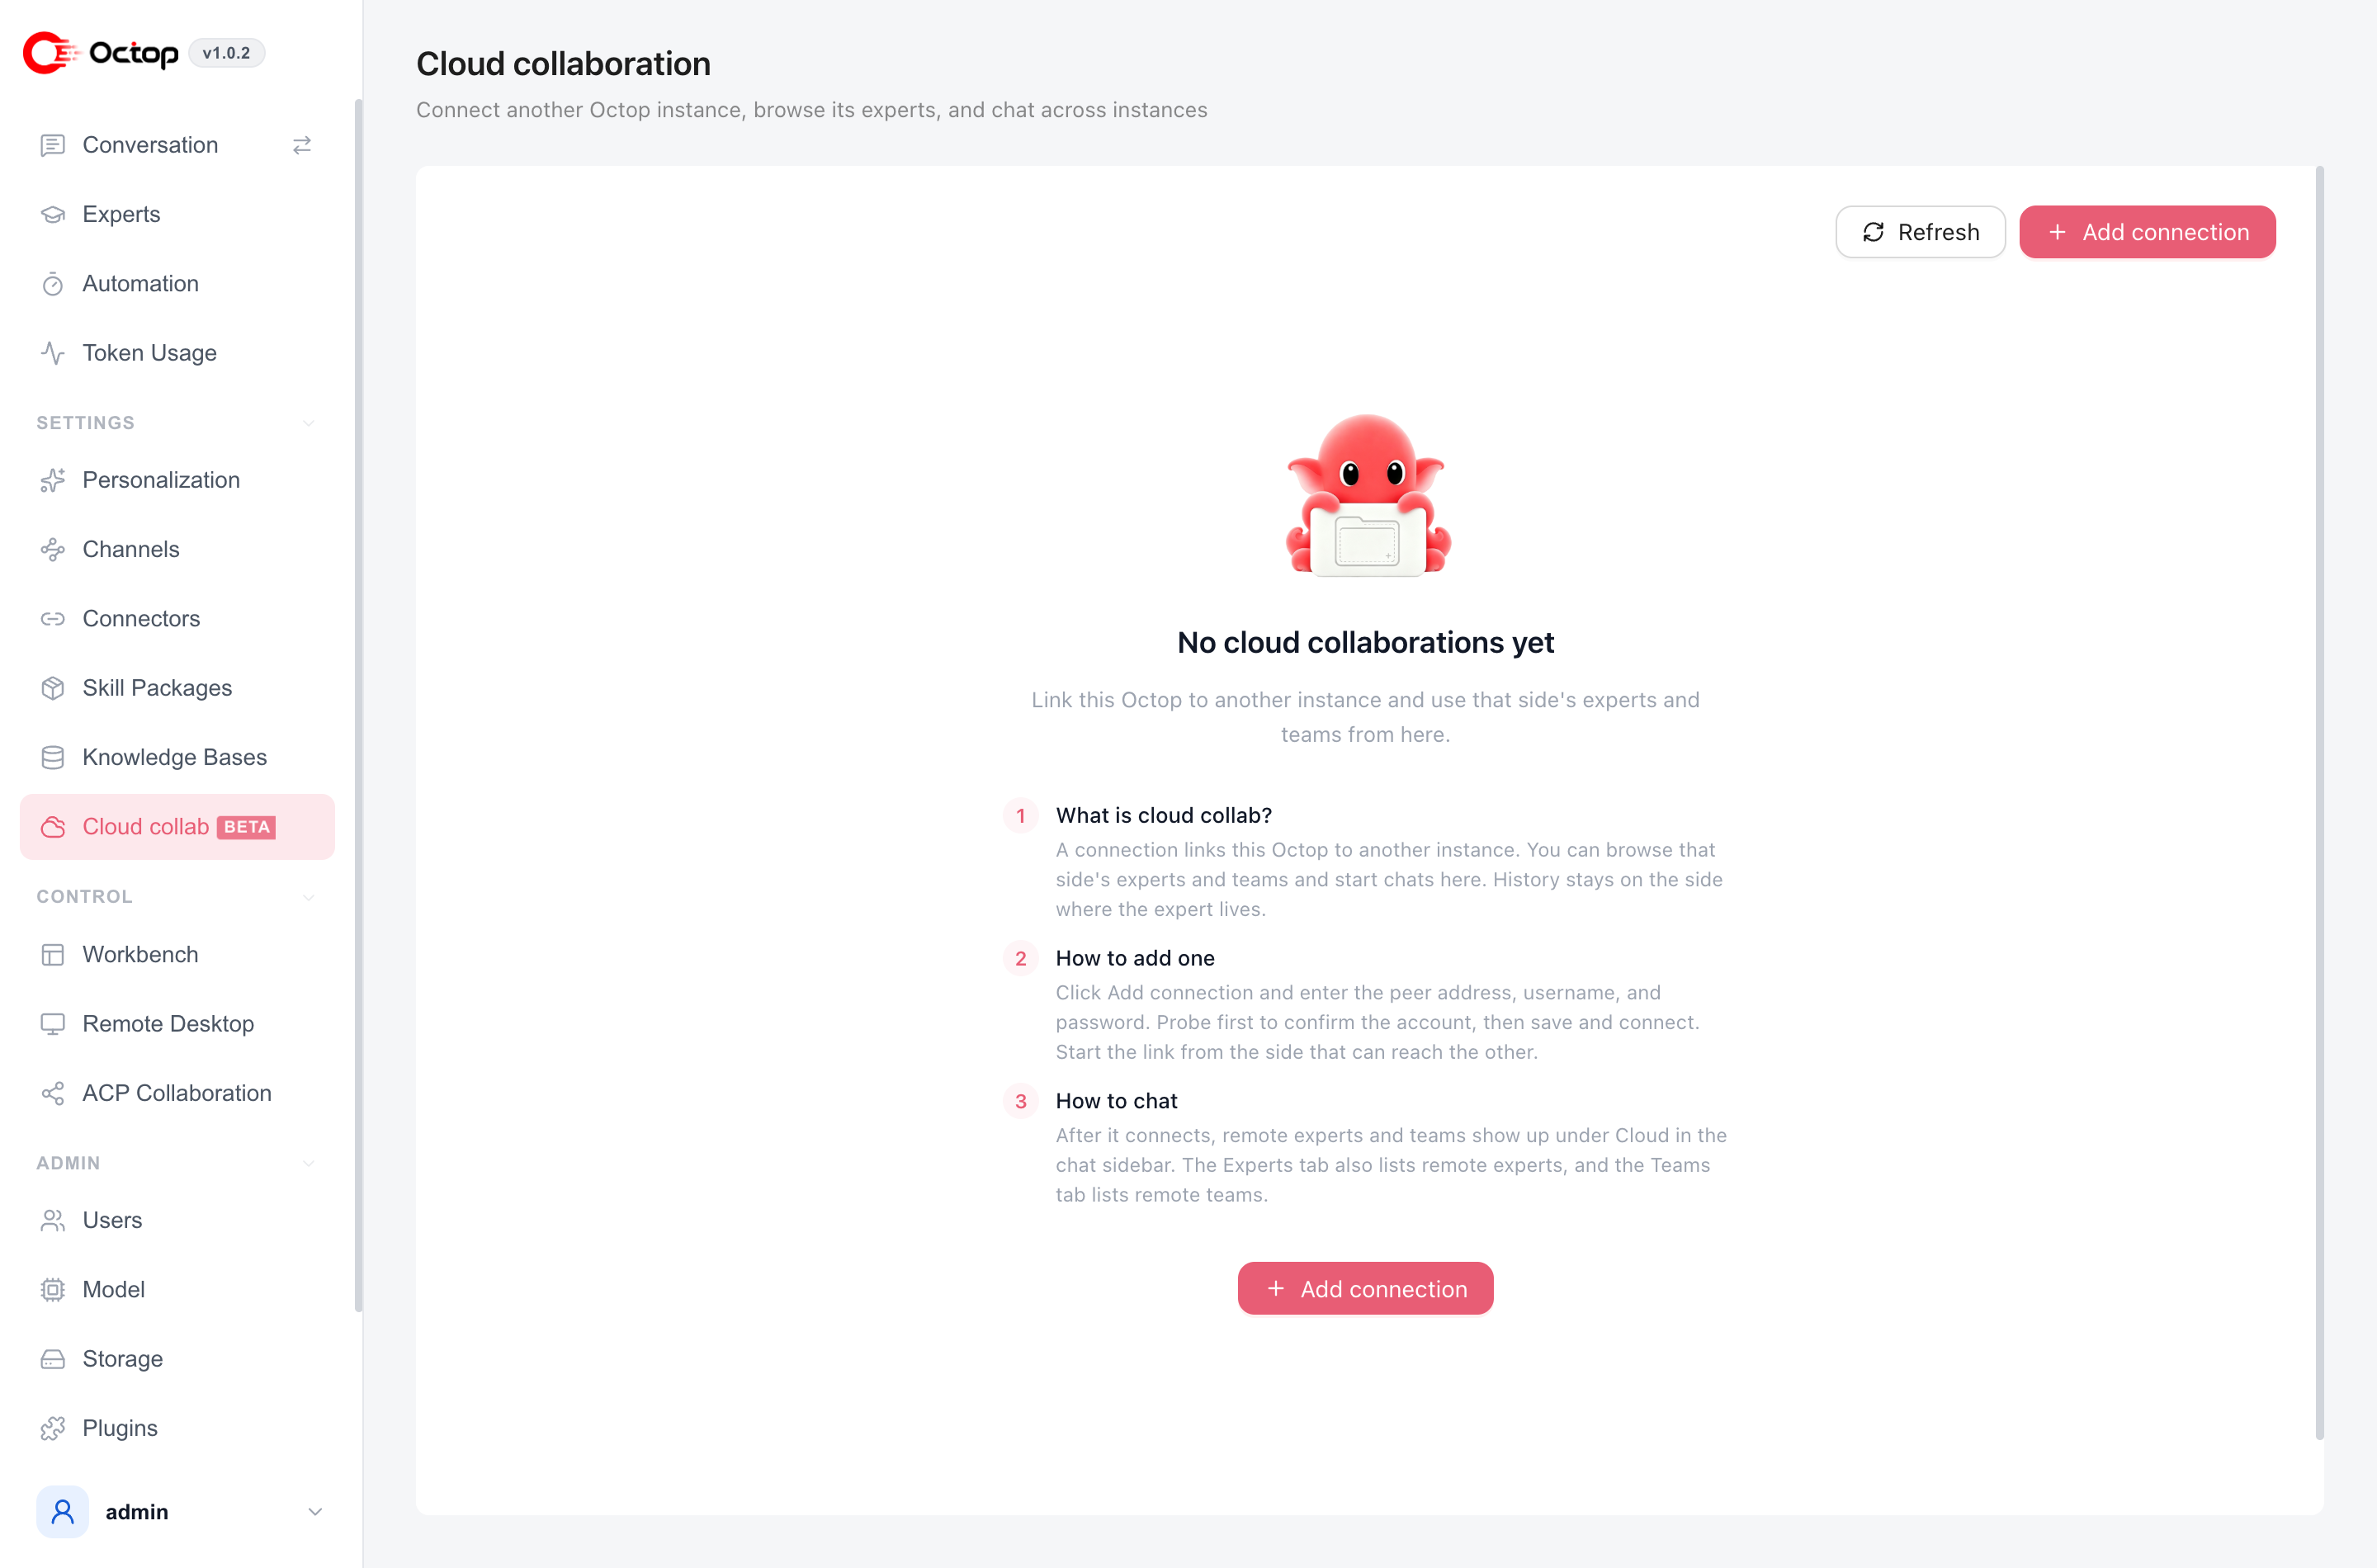
Cloud collaboration (also called the Octop bridge) lets two Octop instances talk to each other. After you add a connection, you can open the other host’s experts and teams from your chat sidebar and work as if they were nearby — without copying accounts or files by hand.
Open it in the sidebar under Settings:
The page is marked Beta.
What you can do
- Browse the other instance’s experts and teams
- Start chats from Chat → Cloud
- Read and write workspace files on the expert’s side (the conversation history stays on the expert’s host)
Some setup still belongs on the remote host only: skill packages, global ACP, connector management, and knowledge-base admin. Manage those on the instance that owns them.
The peer address and account are masked. Click Reveal (this page only; masking returns on reload) when you need the plain values. Mask again puts the mask back. A shared cloud expert can be used in chat without the owner's settings controls.
Add a connection
Open Cloud collaboration
Go to Settings → Cloud collaboration.
Add a connection
Click Add connection. Enter the peer URL, username, and password for an account on the other Octop.
Probe, then save
Click Probe to confirm the account can list experts. Then save and connect. Start the link from the side that can reach the peer over the network.
Chat from Cloud
Open Chat. Use the Cloud scope in the conversation sidebar. Remote experts also appear under Experts; remote teams appear under Teams.
Keep octop run (or your service) running on both hosts so the bridge can reconnect automatically.
CLI
The same connections are available from the terminal:
probe only checks HTTP login. create --connect, connect, and agents open the bridge WebSocket briefly, then exit. Leave the server running to keep the link alive.
Next steps
- Expert teams — group experts under a host that assigns work
- Agents — how local experts and chat scopes work