

Get Started with Octop: Install and Run in Minutes
Octop is a self-hosted, multi-user AI assistant that runs entirely on your own machine. In this guide, you will install the octop CLI, run octop init, start the server, complete the first-run setup wizard, and send your first message — all in under five minutes.
Install Octop
Choose the installer that matches your platform. Every method provisions an isolated environment at ~/.octop/venv and adds octop to your PATH via ~/.octop/bin — no system Python is required.
Reload your shell
Open a new terminal, or reload your current shell session so that ~/.octop/bin is picked up from your PATH:
On Windows the installer updates your user PATH automatically — close and reopen your terminal to apply the change. No shell reload command is needed.
Confirm the installation succeeded:
Initialize Octop
Bootstrap your local environment:
This prepares ~/.octop/ (database, secrets, and related files). All data stays on your machine under ~/.octop/.
Start the server
Launch Octop in the foreground:
Once you see the server ready message, open your browser and navigate to:
On first launch the dashboard opens the setup wizard. Open ~/octop-login.txt in your user home directory, copy the one-time setup password into the wizard, then choose your own admin username and password.
The file is ~/octop-login.txt in the user home directory, not under ~/.octop/. After setup completes, keep the file if you still need the one-time password — Octop no longer deletes it. Sign in with the username and password you created. If you forget the password, see Reset password. Docker first boot writes admin and a generated (or OCTOP_DEFAULT_PASSWORD) credential to /data/.octop/credential.txt — see Docker Setup.
To bind on all network interfaces or use a different port, pass flags directly:
To run Octop as a persistent background service (systemd, launchd, or Windows Service), use:
Configure a model provider
Octop ships built-in presets for Tencent Cloud, OpenAI, Anthropic, DeepSeek, Ollama, and many more. Add your first provider from the web UI:
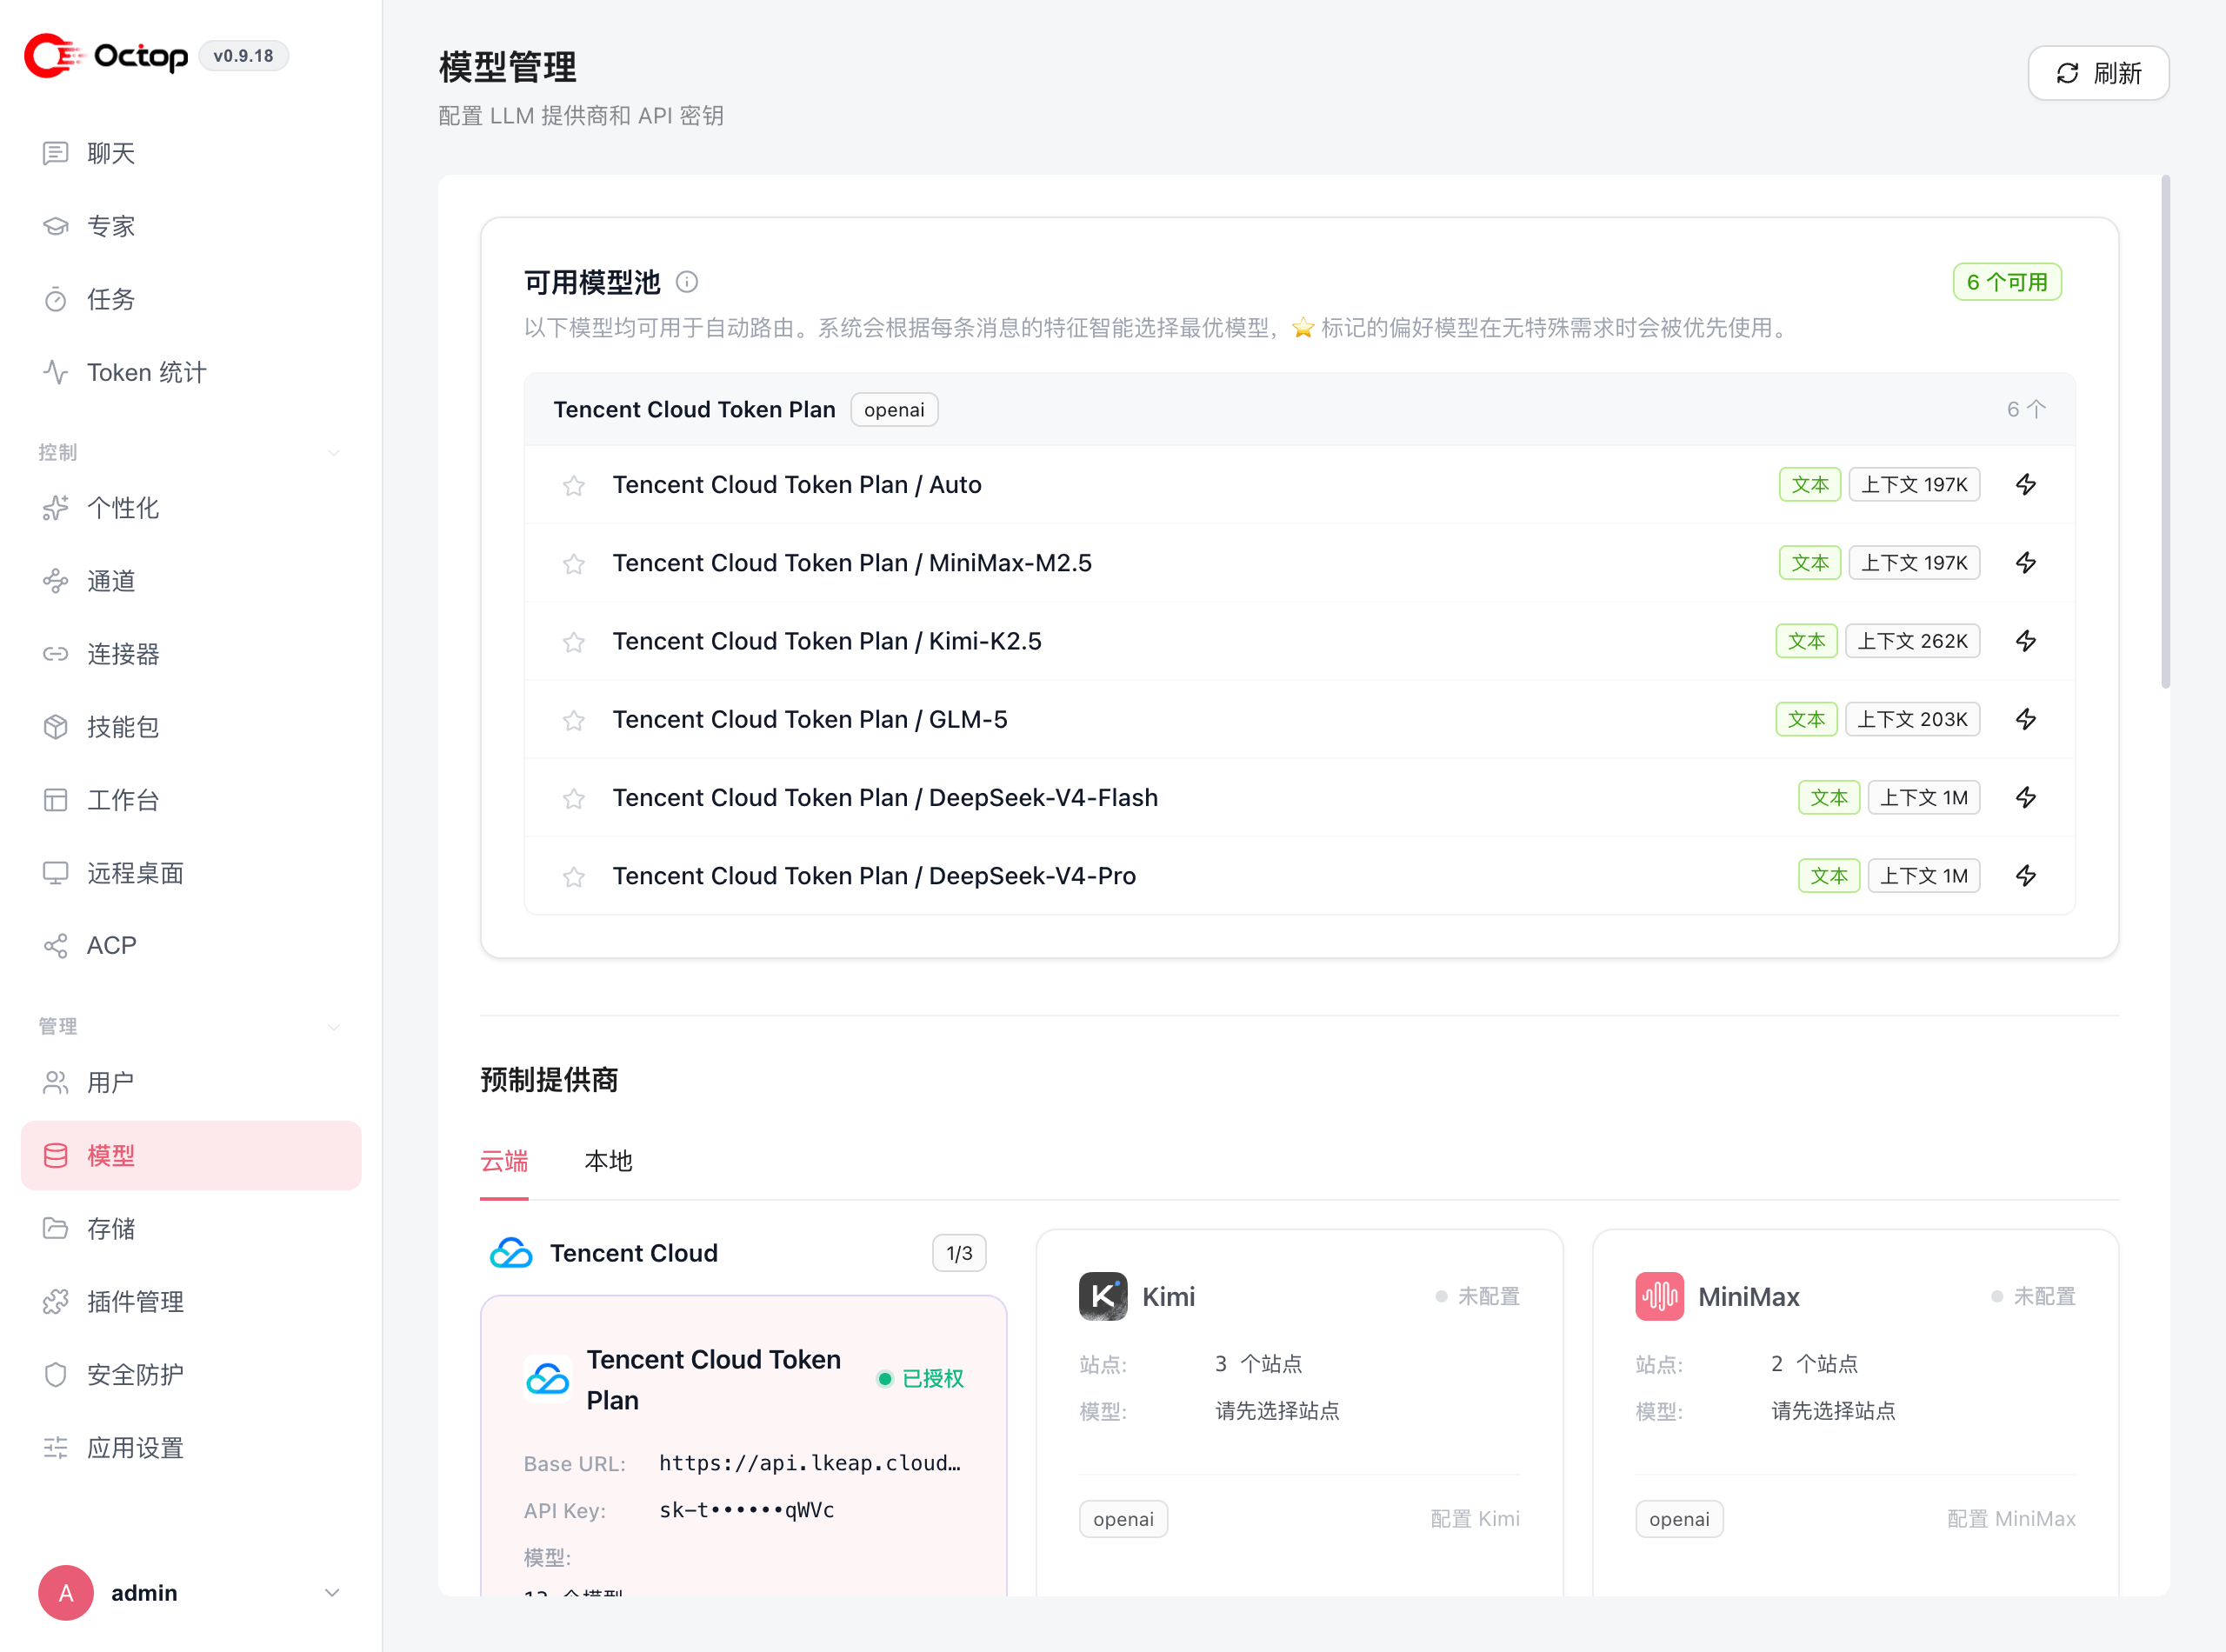
Pick a built-in preset, enter your API key, and enable it. Its models join the available model pool that every agent under your account can use.
Prefer the terminal? Use octop models config — see Agent commands.
Start chatting
Open Chat in the web UI at http://127.0.0.1:8088. Select your agent (the setup wizard creates a default main agent) and send your first message.
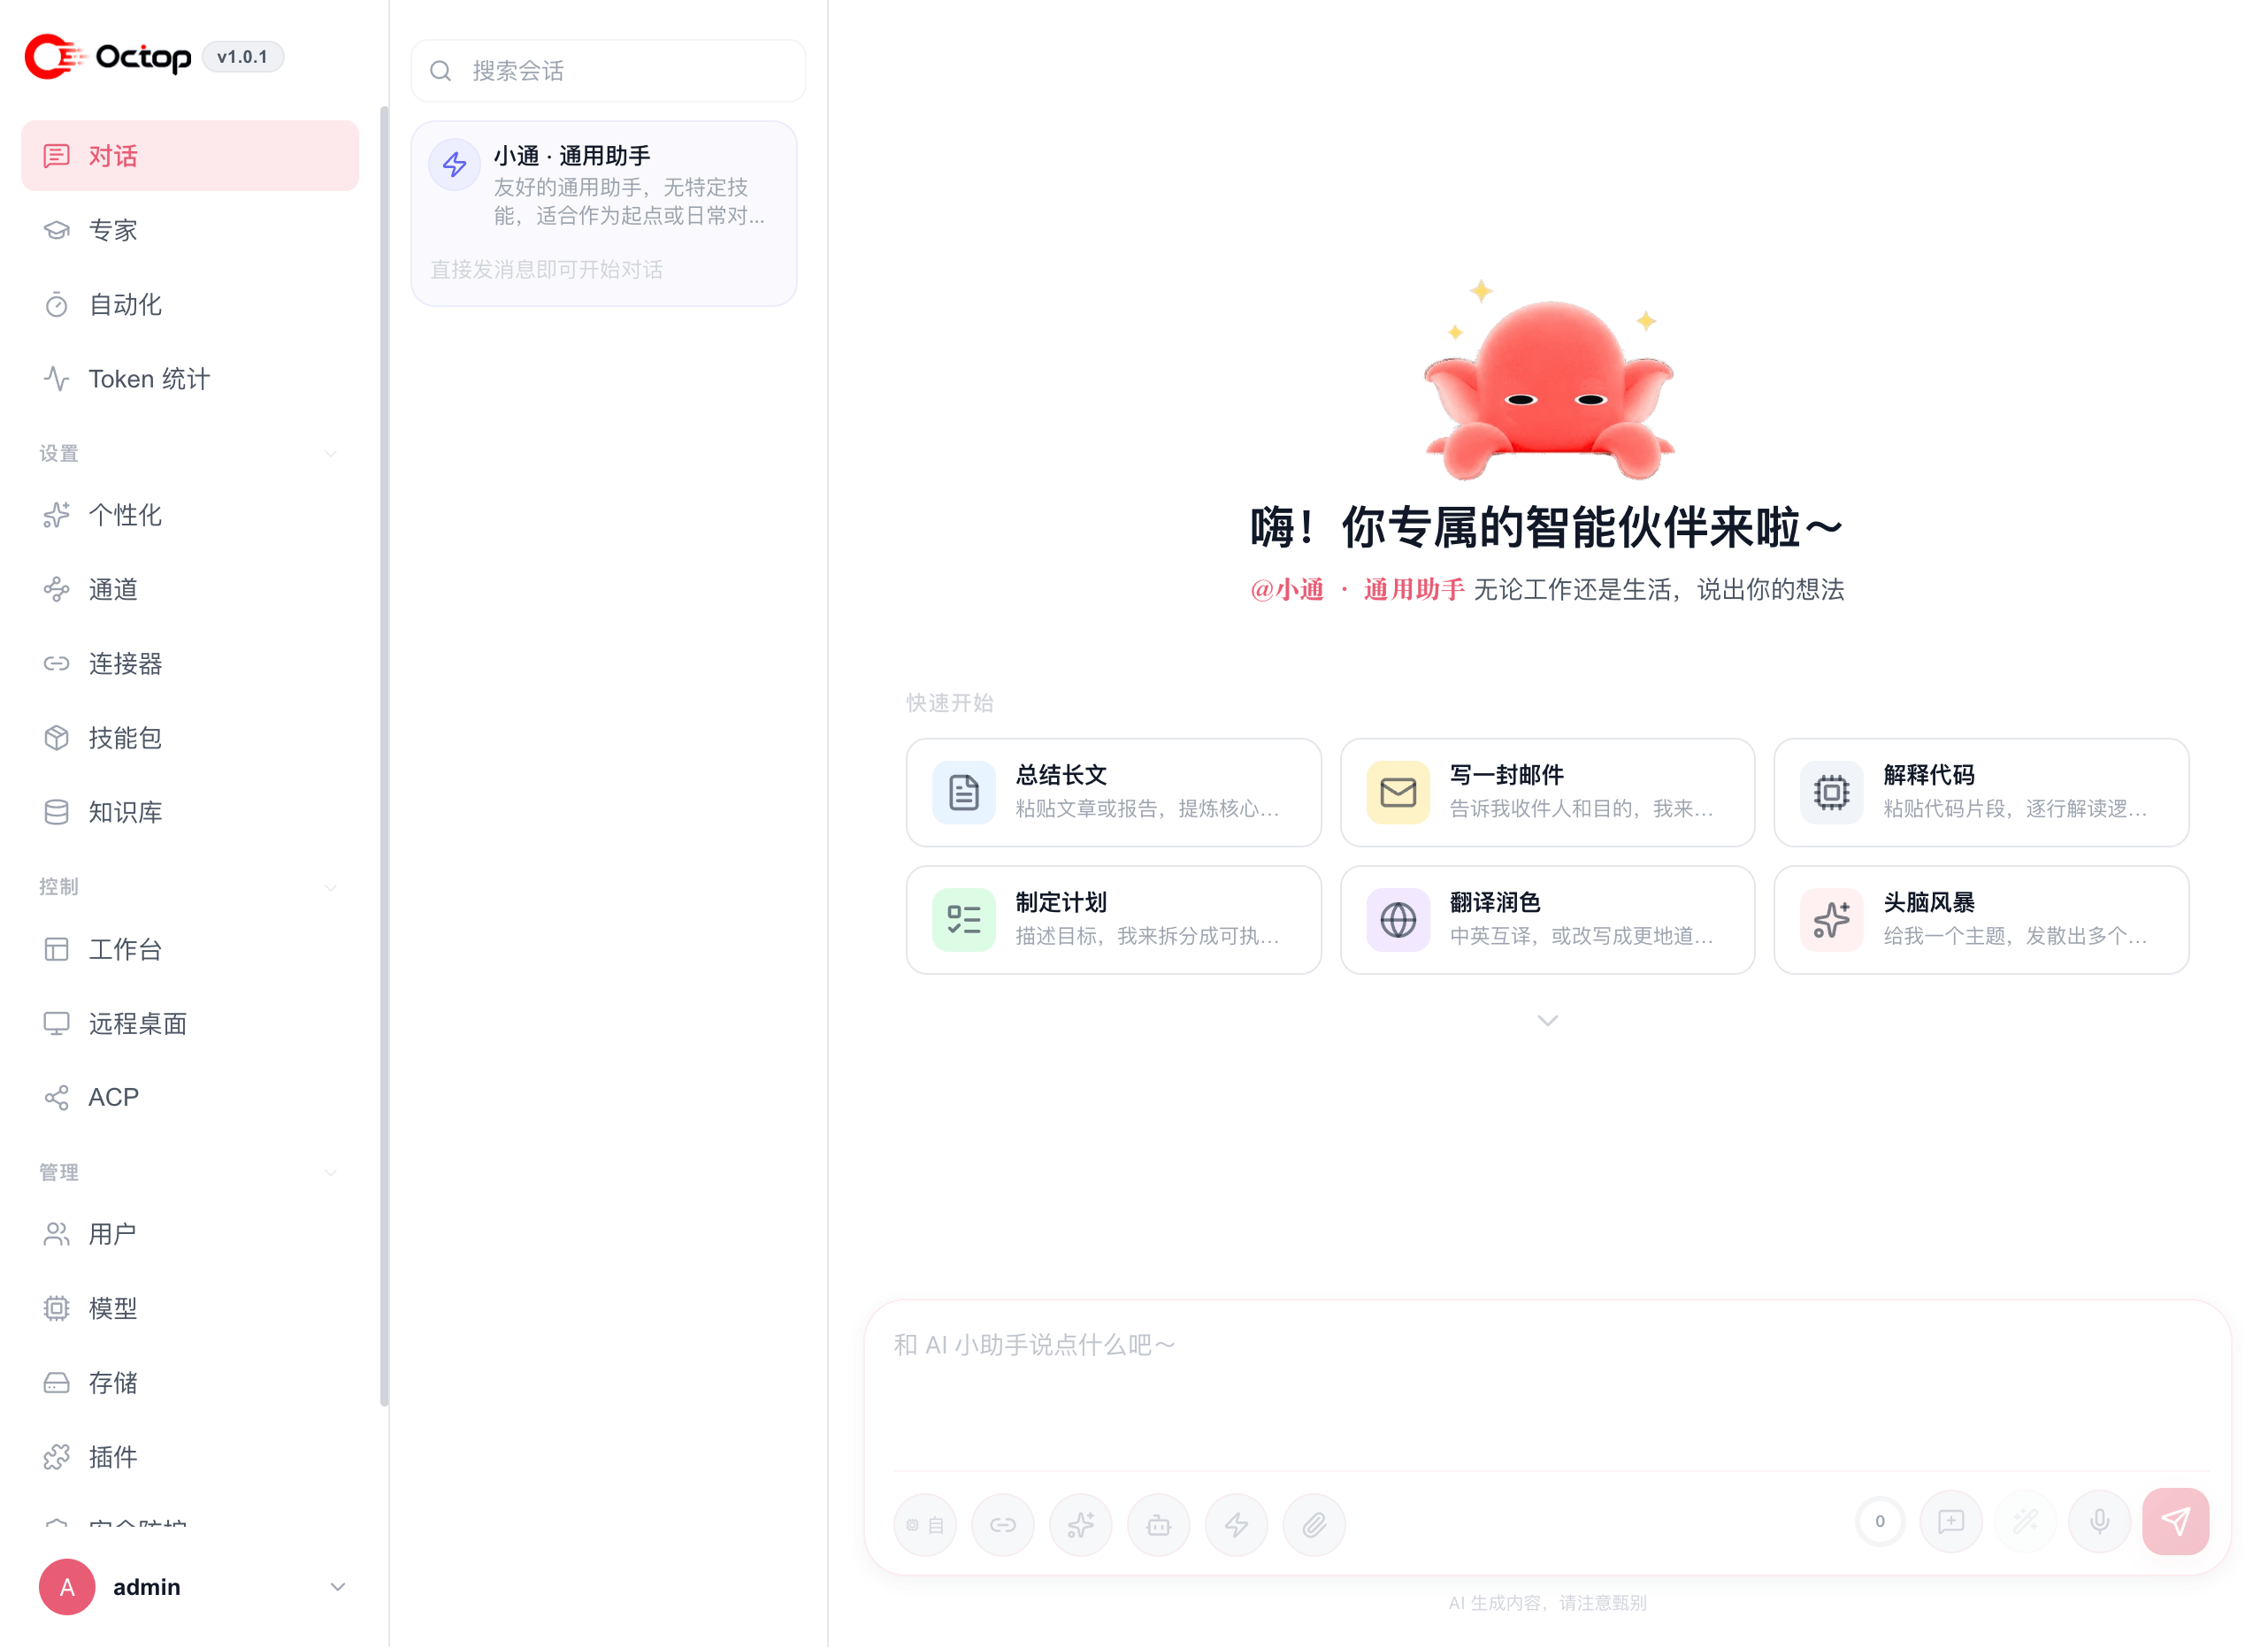
Your agent now has access to all the skills, connectors, and tools you configure going forward.
For an interactive terminal chat session, see octop chats.
The base installer sets up the core platform. To unlock additional capabilities, re-run the installer with an --extras flag:
Browser automation enables headless Chromium sessions for web tasks and screenshots. The Feishu extra adds a channel bridge so your agents can receive and reply to Feishu messages.
For production deployments or multi-user setups, use Docker Compose instead of a bare-metal install. See the Docker Setup guide. To launch a cloud instance with Octop preinstalled, see Use on Tencent Cloud. To install on Feiniu NAS, see FnOS.
Prefer a native desktop app? Download Octop-Desktop-<platform> from the Octop v1.0.1 release. The desktop client bundles a portable Octop runtime under ~/.octop, opens the web UI in a native shell, and is optional for server or CLI-only use.