

How to Back Up and Completely Restore Your Octop Data
Octop bundles everything — the SQLite database, agent workspaces, config, and secrets — into a single archive you can restore on any machine running Octop. You manage the whole lifecycle from the web UI: create, download, upload, restore, and delete backups without touching the command line. Back up before upgrades, migrations, or as part of a regular maintenance routine.
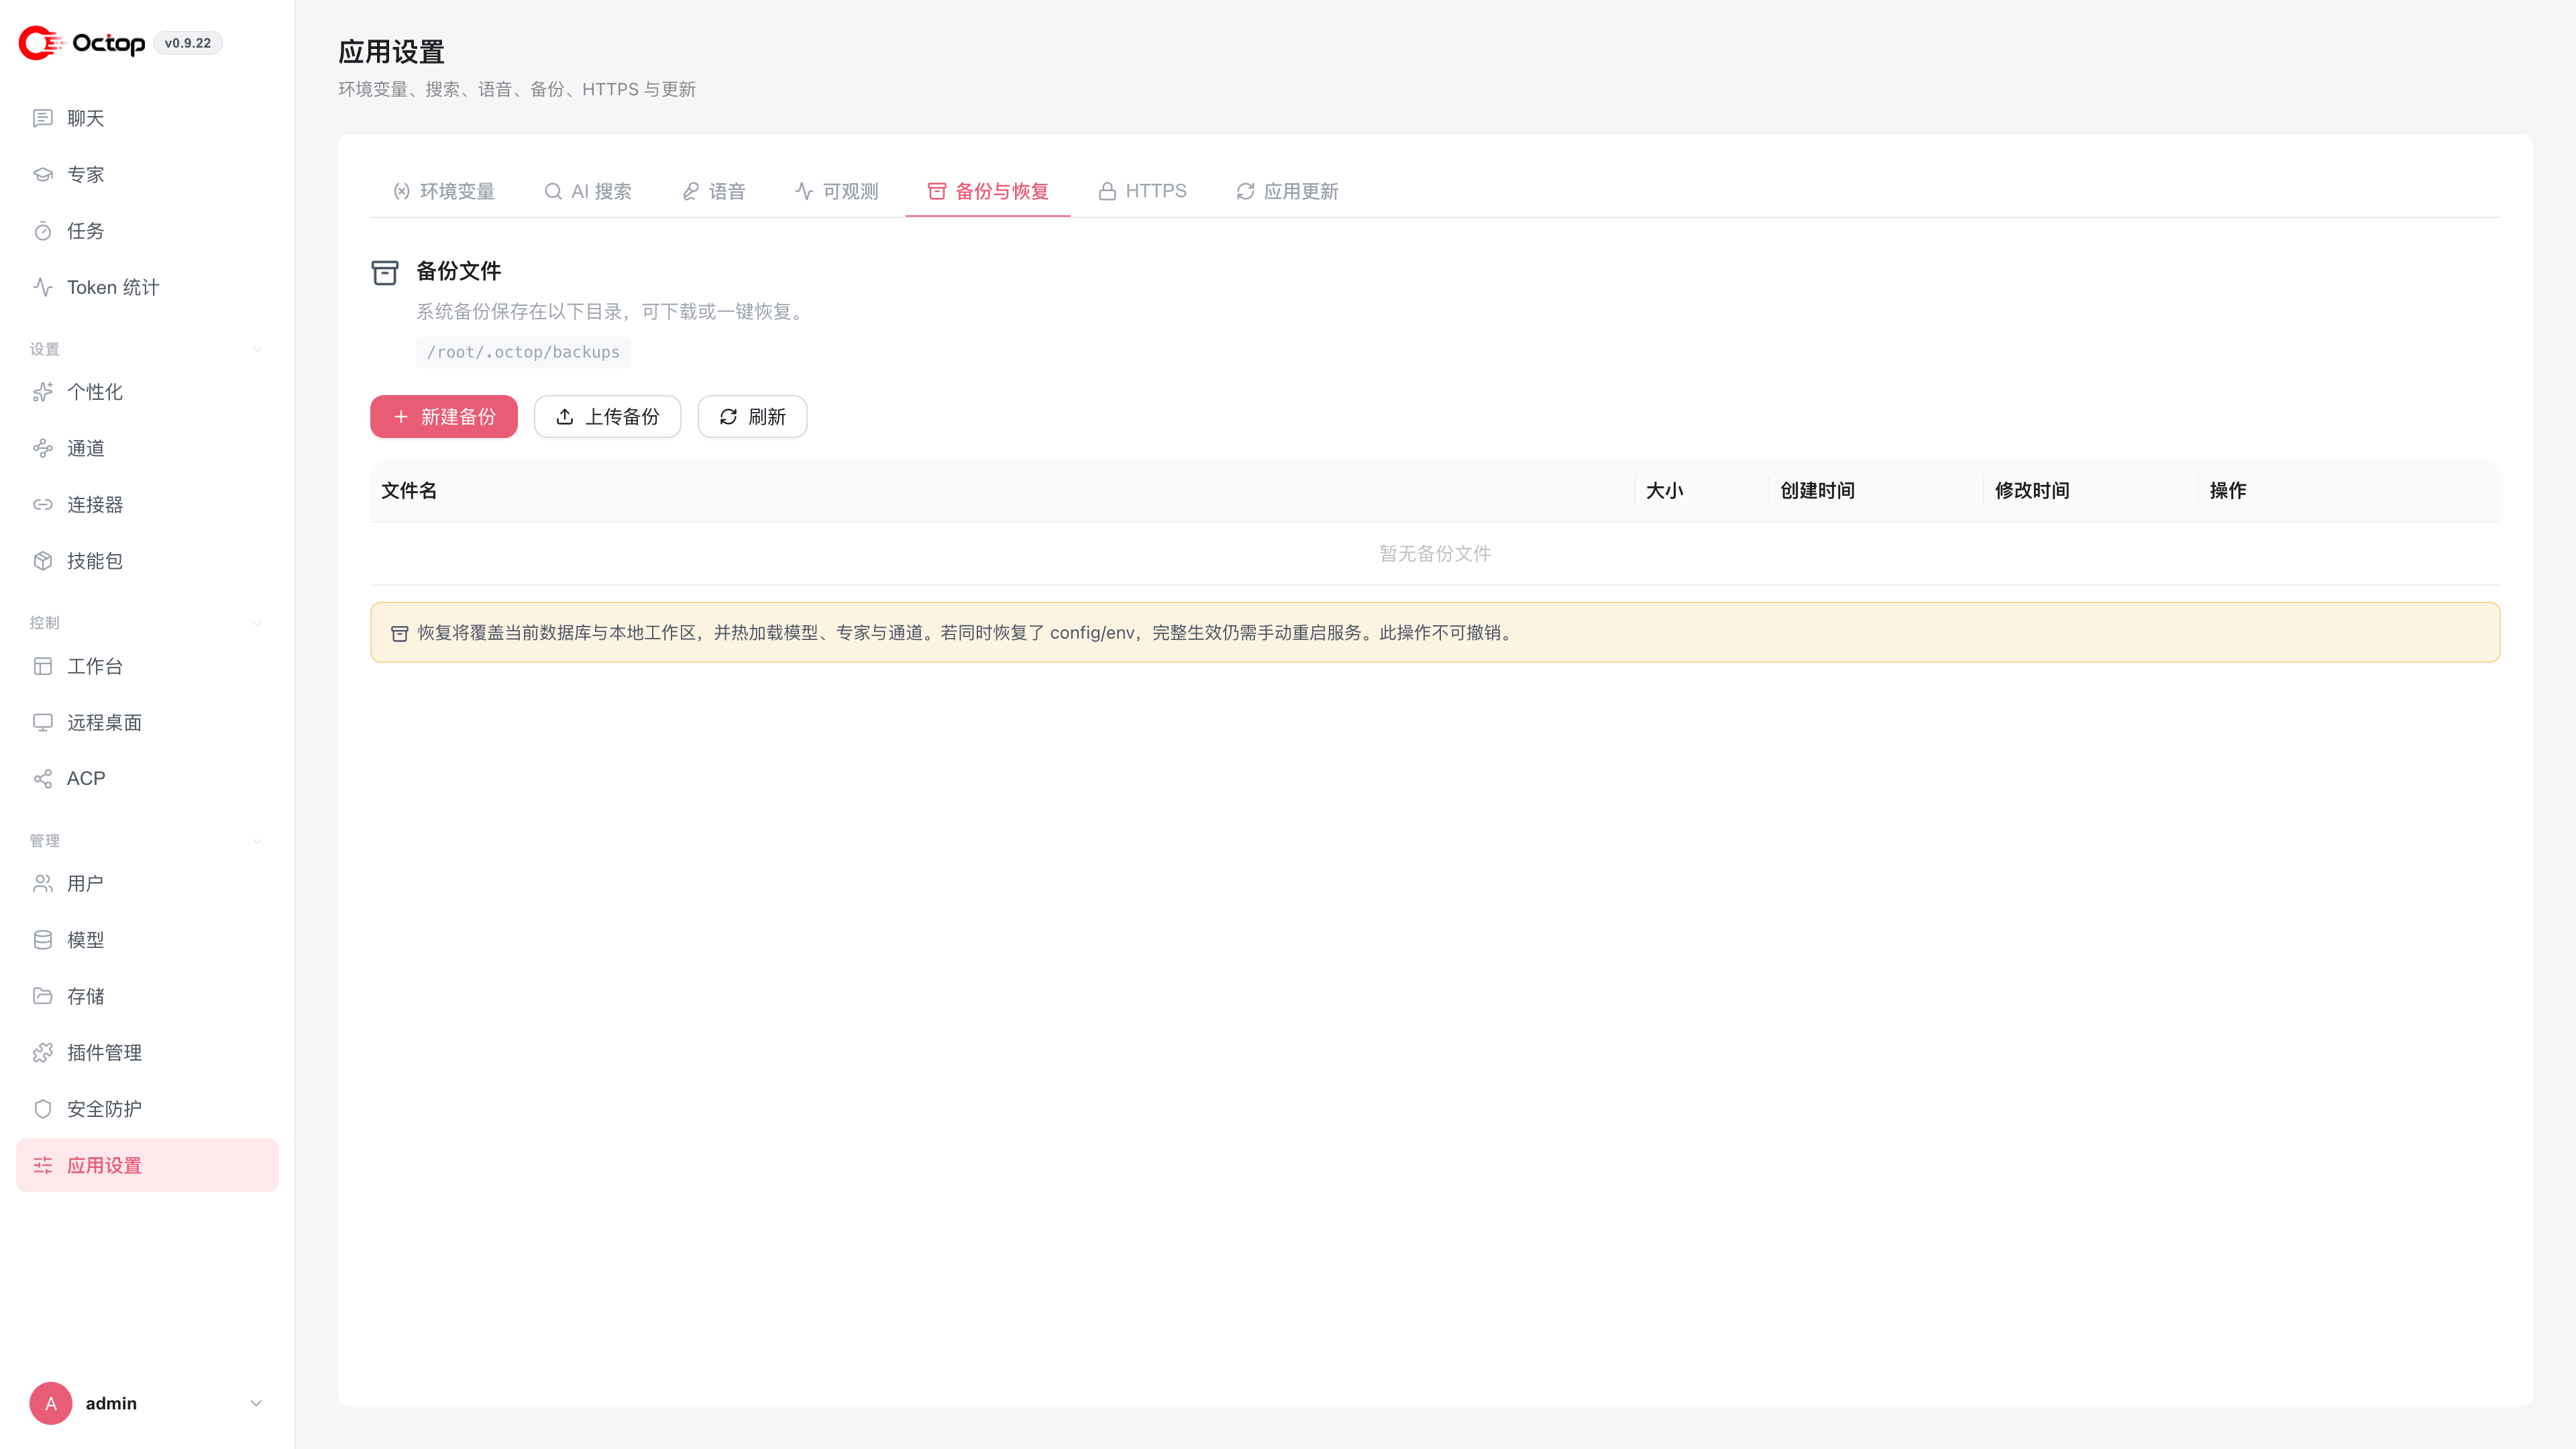
Open the backup panel
Backup and restore is an admin-only feature. In the sidebar, open Application Settings under the Admin section, then select the Backup & Restore tab. The panel lists every backup archive stored on the server and shows the directory where they live.
What gets backed up
Create a backup
Open the panel
Go to Application Settings → Backup & Restore.
Choose what to include
Click Create backup. The dialog Select backup contents always packs the database. Tick the rest as needed: config.json and env, agent workspaces, skill packages, plugins, and knowledge. Chat history (including trajectories) is off by default because it can be large.
Create the archive
Confirm. Octop writes a .tar.gz in the backups directory. Omitted data stays on disk and is not deleted.
Download it (optional)
Click Download on the new row to save the archive to your computer. Keep off-server copies for disaster recovery.
Schedule automatic backups
Under Automatic backups, turn on Enable automatic backups, choose a schedule, set Keep last N automatic backups, and click Save settings.
The built-in schedules are daily at 04:00, weekly on Sunday at 04:00, and every 12 hours. Daily and weekly cron times use the server timezone. For a custom schedule, enter cron:m h dom mon dow or interval:<seconds>.
Automatic archives use the octop-auto-backup- prefix. Octop deletes the oldest automatic archives beyond the retention count; it never removes manual octop-backup- archives as part of this rotation. Click Run now to create an automatic backup immediately without waiting for the next scheduled run.
Automatic backups are disabled by default. The default schedule is daily at 04:00 and the default retention count is 7.
Restore a backup
You can restore any archive already listed in the panel. To restore from a file on your computer, click Upload backup first — this saves the .tar.gz into the backups directory without restoring — then restore it from the list.
Start the restore
Click Restore on the archive you want to recover.
Choose whether to restore config
In the confirmation dialog, keep Also restore config.json and env checked to restore server settings too, or clear it to keep the current machine's config. Config and env changes require a manual service restart to take full effect.
Confirm
Click Restore. Octop overwrites the current database and the items that were in the archive, then hot-reloads models and experts — no restart needed for those. Archives created before these content flags still restore. Workspace zip export packs from the workspace itself, not a same-named file under the backend root. Hidden system state is kept on import.
Backup, upload, export, automatic backup, and restore operations share one busy state. If you refresh or navigate away, Octop keeps showing the current operation when you return to Backup & Restore. Start only one backup or restore operation at a time.
Restoring overwrites the current database and local workspaces and cannot be undone. Create a fresh backup of the current state first, so you can roll back if needed.
Delete a backup
Click Delete on any row to remove an archive from the server. This only deletes the stored file — it does not affect your live data. Deletion cannot be undone, so download a copy first if you might need it later.
Back up a Docker deployment
If you run Octop in Docker, backups are written inside the mounted volume (typically octop-data:/data/.octop). Create the backup from the web UI as usual, then either Download it through the browser or copy it out of the container with docker cp. You can also copy the volume directory directly from the host while the container is stopped.
Prefer the CLI?
The same operations are available from the terminal with octop backup create, octop backup restore <archive>, octop backup auto status, and octop backup auto run. See Channel & cron commands: backup.