

Migrate from LightClaw to Octop
Move your LightClaw setup into Octop without rebuilding providers, channels, workspace files, or cron jobs by hand. LightClaw packs everything into an Octop-compatible .tar.gz; you upload and restore it in the Octop web UI.
Upgrade both LightClaw and Octop to the latest release before you migrate. Older builds may produce or reject an incompatible archive.
Before you start
- On LightClaw, open Advanced Settings → Updates and upgrade if a newer build is available.
- On Octop, open Admin → Application Settings → App Updates and upgrade if a newer build is available.
- Prefer a quiet window: restore overwrites the current Octop database and local agent workspaces.
- Plan to stop LightClaw (or disable its channels) after a successful restore so the same IM bot is not answered by two agents.
What migrates
Migrated agents and related data are owned by the admin account that performs the restore in Octop.
Step 1 — Export from LightClaw
In LightClaw, open Advanced Settings, then select the Export to Octop tab.
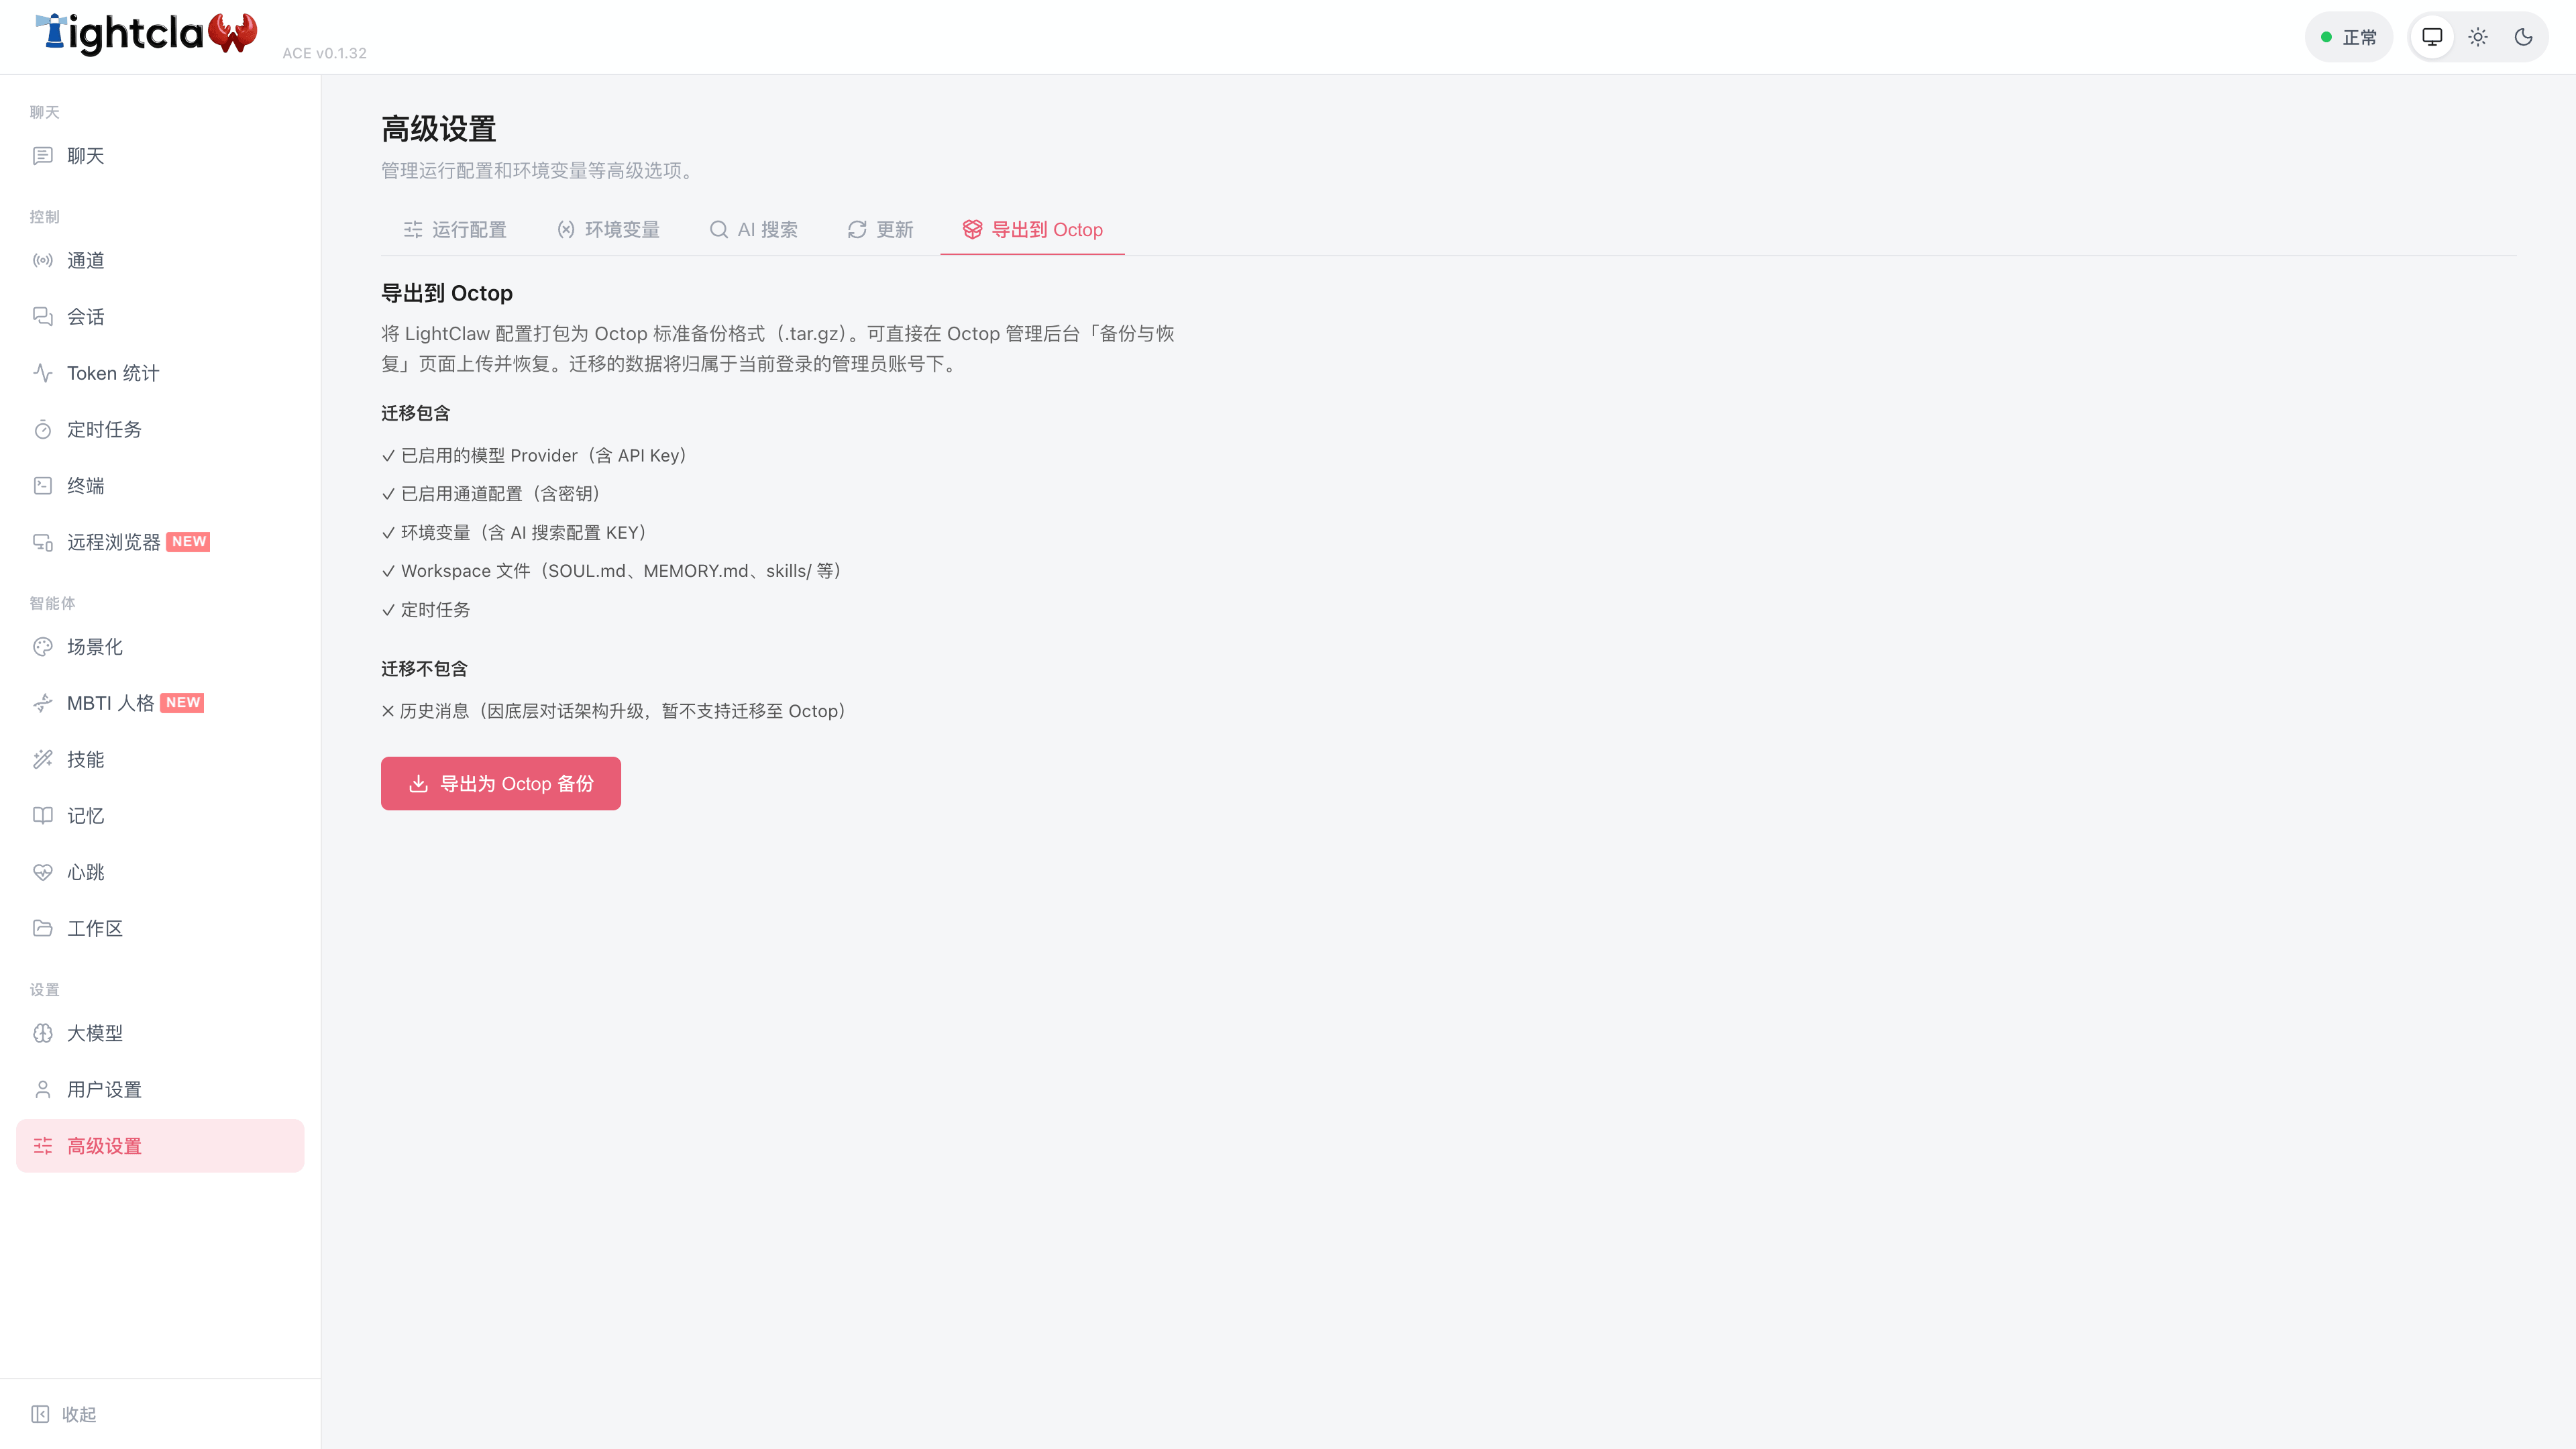
Open Export to Octop
Go to Advanced Settings → Export to Octop. Review what is included and excluded on that page.
Export the archive
Click Export as Octop backup. LightClaw downloads a file named like octop-backup-from-lightclaw-….tar.gz.
Keep the .tar.gz somewhere safe until the Octop restore finishes.
Step 2 — Restore in Octop
In Octop, open Admin → Application Settings, then select the Backup & Restore tab.
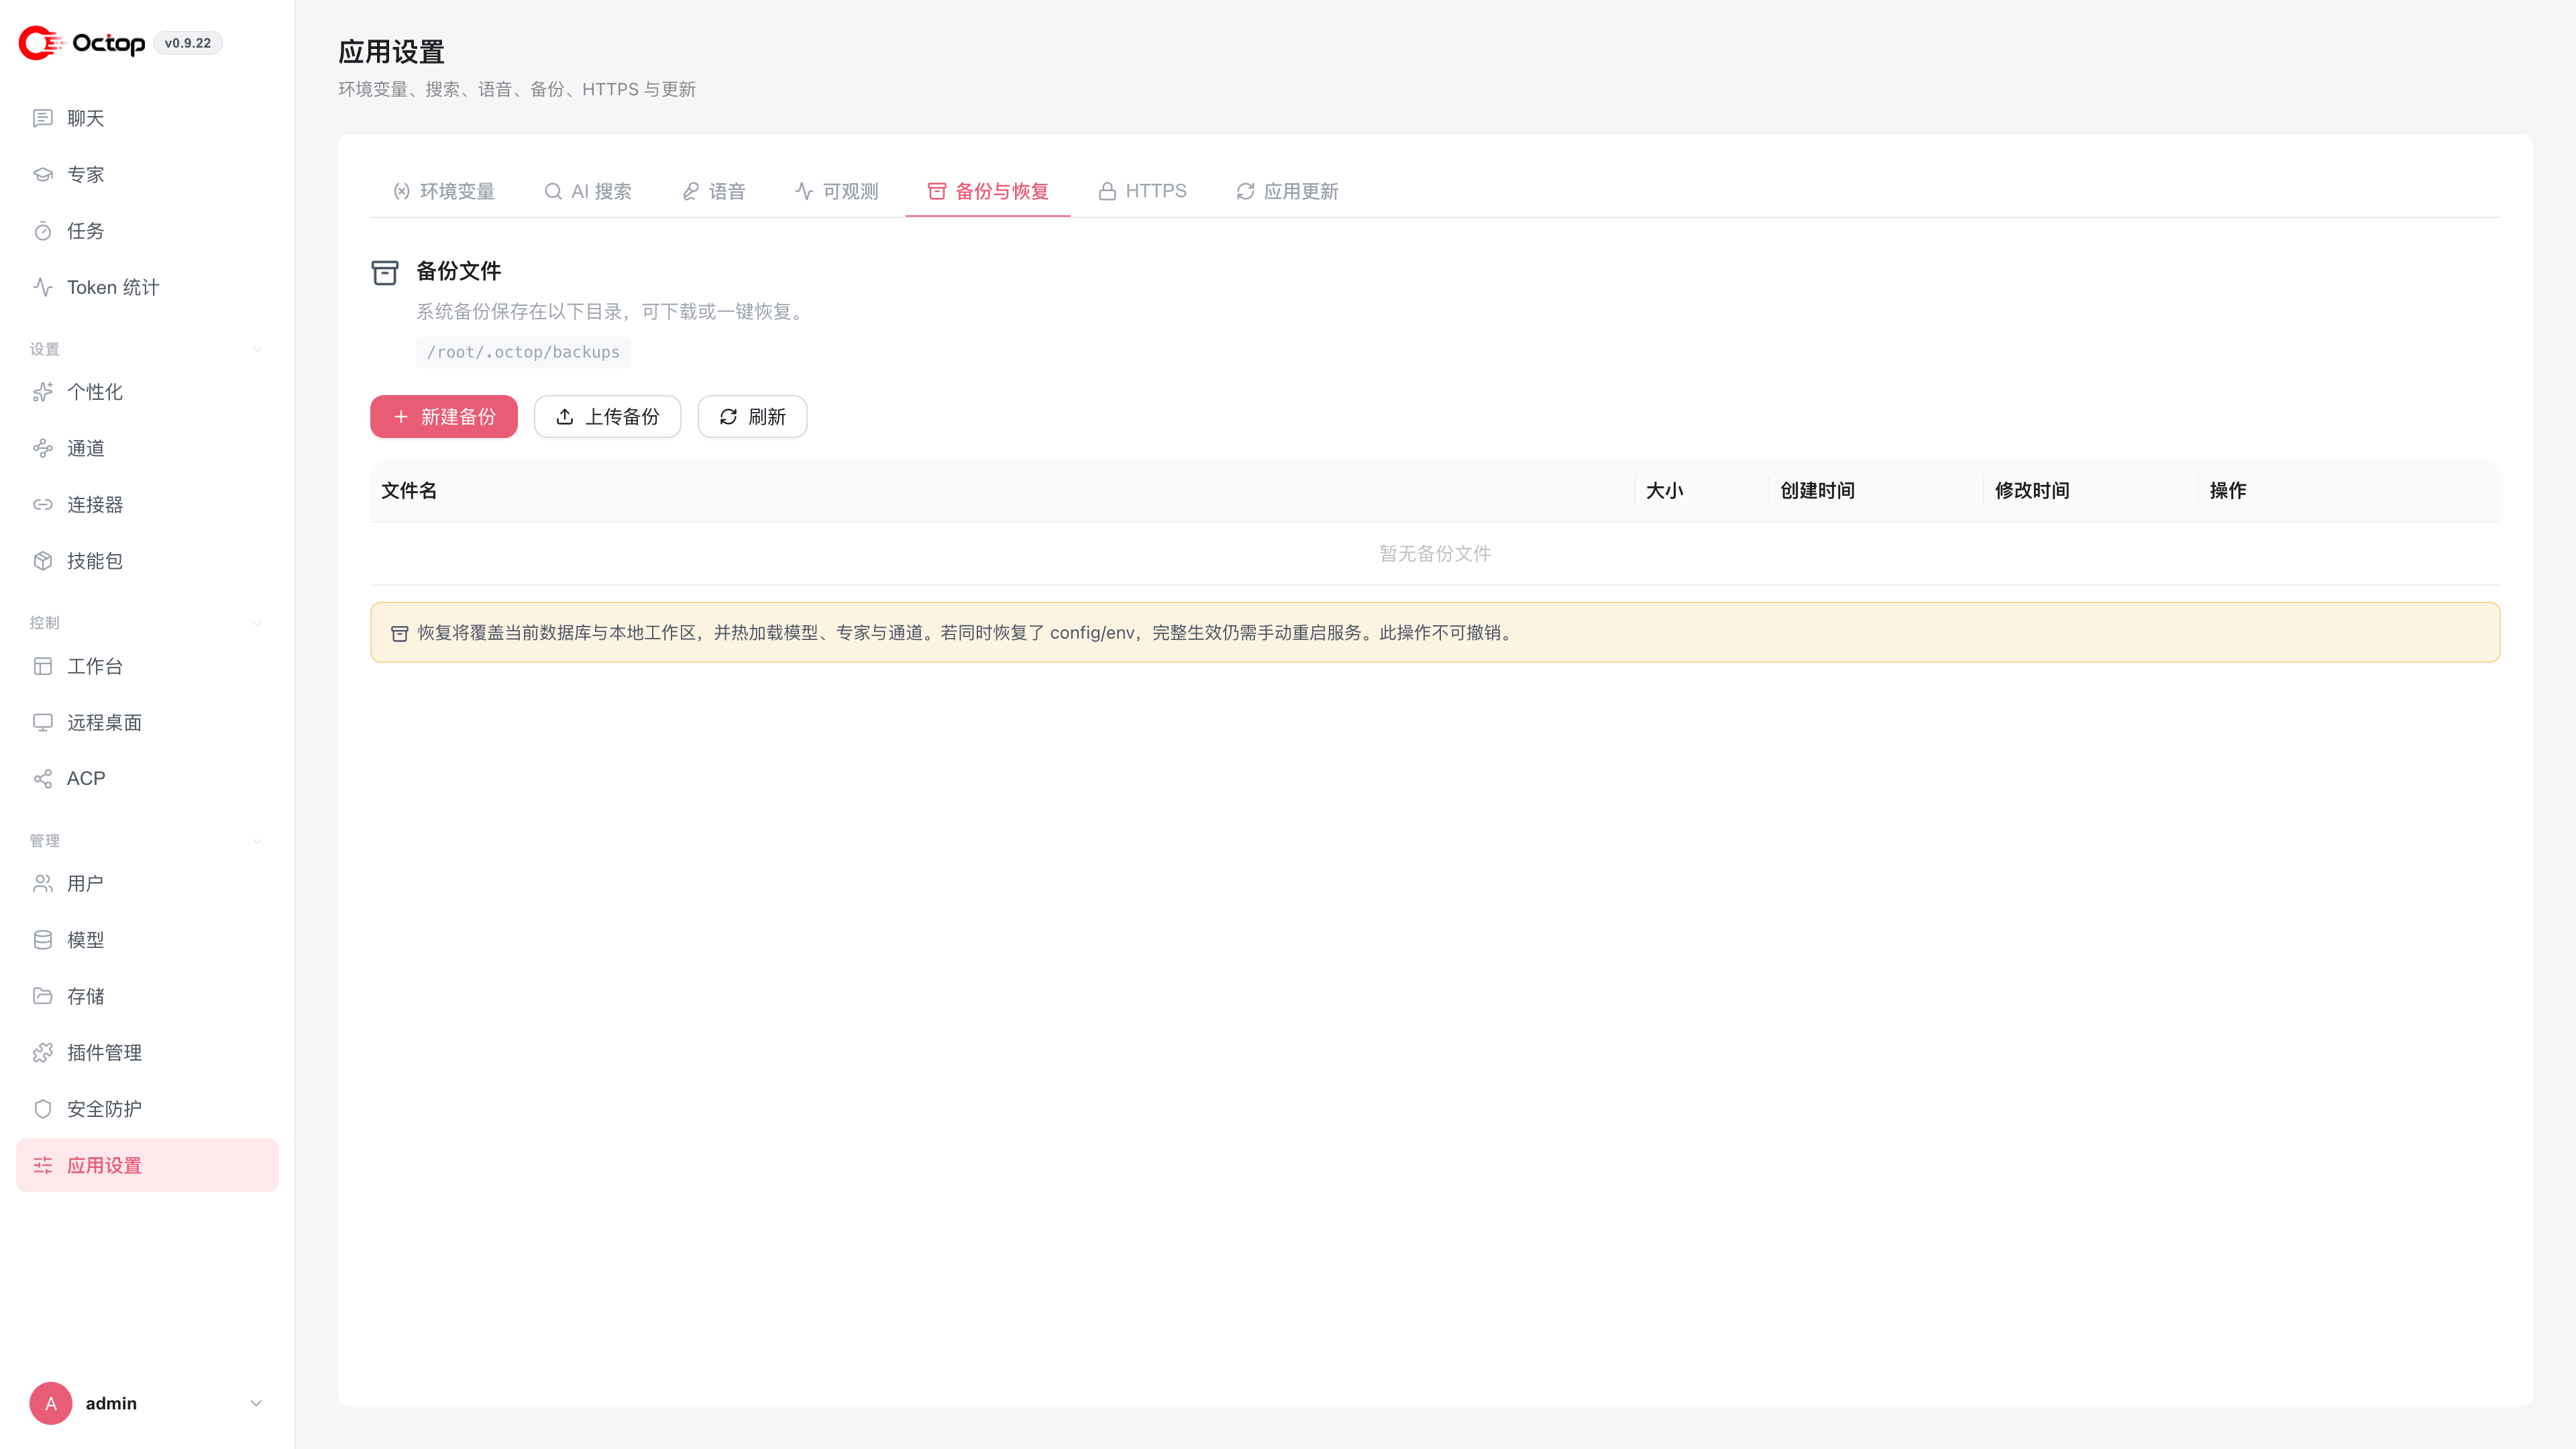
Upload the archive
Click Upload backup and choose the .tar.gz you exported from LightClaw. Upload only stores the file in the backups directory; it does not restore yet.
Restore
In the backup list, click Restore on that archive. In the confirmation dialog, choose whether to also restore config.json and env (those need a manual service restart to fully apply).
Confirm
Click Restore. Octop overwrites the current database and local workspaces, then hot-reloads models, agents, and channels.
Restore cannot be undone. Create a fresh Octop backup first if this instance already has data you might need.
After migration
- Sign in again if Octop asks you to — migration restore can rotate session secrets while keeping your current admin users.
- Open Models, Channels, and Tasks and confirm providers, bots, and cron jobs look right.
- Stop LightClaw or turn off its channels so inbound IM messages are not handled by both products.
- Start a new chat in Octop to continue work — previous LightClaw message history is not in the archive.
The same Backup & Restore panel is also used for ordinary Octop backups. See Backup & Restore for day-to-day backups unrelated to LightClaw.